[Here](https://mpmidi.com/connections) are some display connection example videos
On Windows, first disable the Taskbar on Multiple Displays 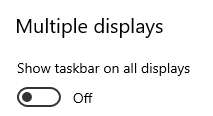 Then, choose to Extend the Displays, from Display Settings 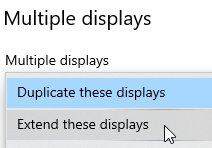 **Set, the magnification (Scaling) on Windows to 100% on the MP Controller’s display.** > if you have a different scaling setting, the MPH plugin or hosted plugins may look either too big or out of bounds, > showing partially instead of full First select the display that is the MP Controller and it will turn blue [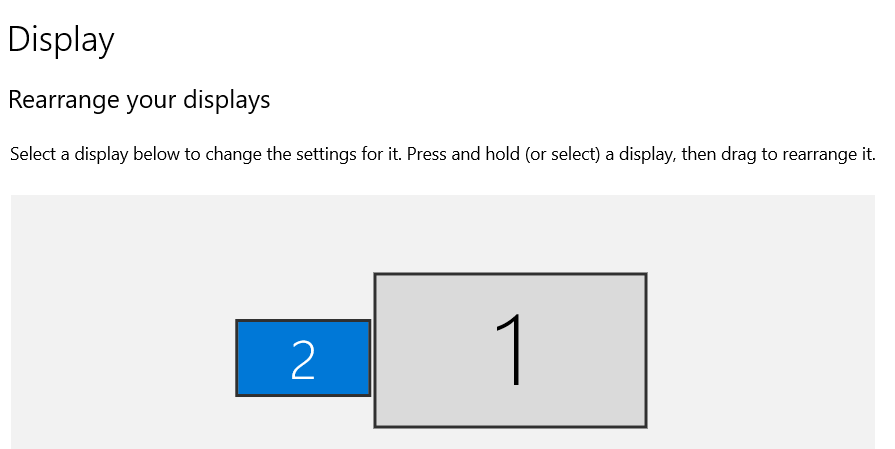](https://kb.mpmidi.com/uploads/images/gallery/2025-04/c6N0DFkNhqYHBhp9-3fHimage.png) Set it to 100% [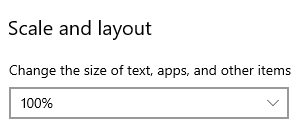](https://kb.mpmidi.com/uploads/images/gallery/2025-04/sCuD2xh32jzeumyJ-fsHimage.png) --- ##### Windows 10/11 Touchscreen setup For Model 1A+/2A see [**this**](https://kb.mpmidi.com/books/mp-controller-documentation/page/3-windows-model-1a2a-configuration-for-the-touch-hardware) guide For Model 1A see [**this**](https://mpcontrollerbyteltd.freshdesk.com/en/support/solutions/articles/103000120363-model-1a-touch-function-setup-on-windows) guide --- ##### Getting “No Signal” and then “Power Saving” 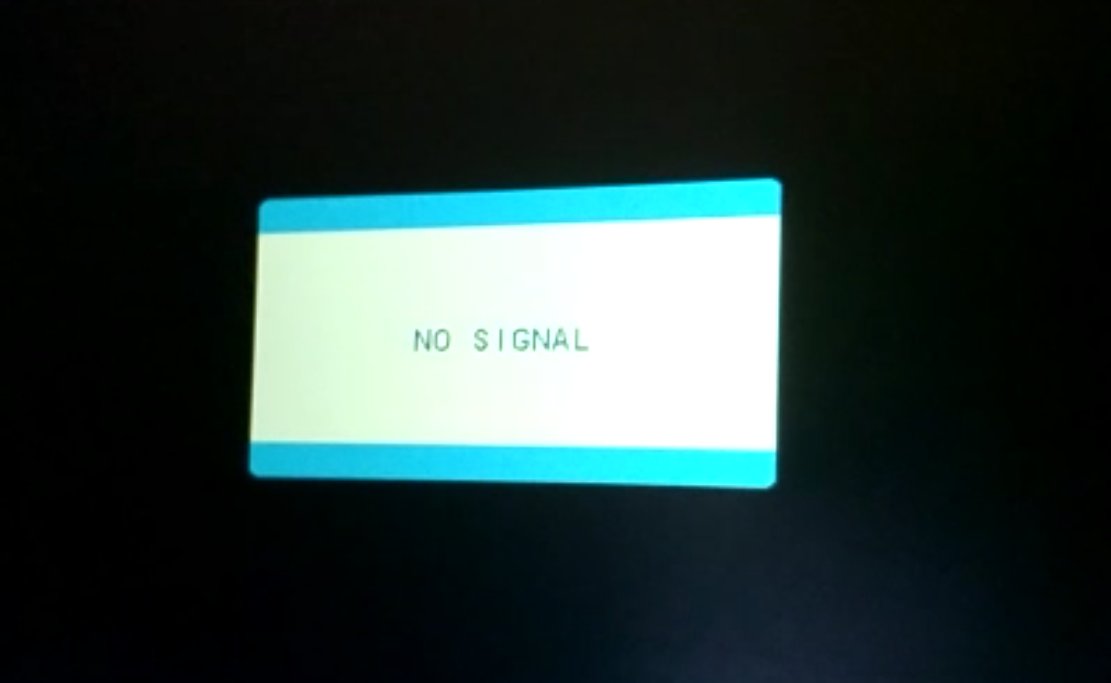 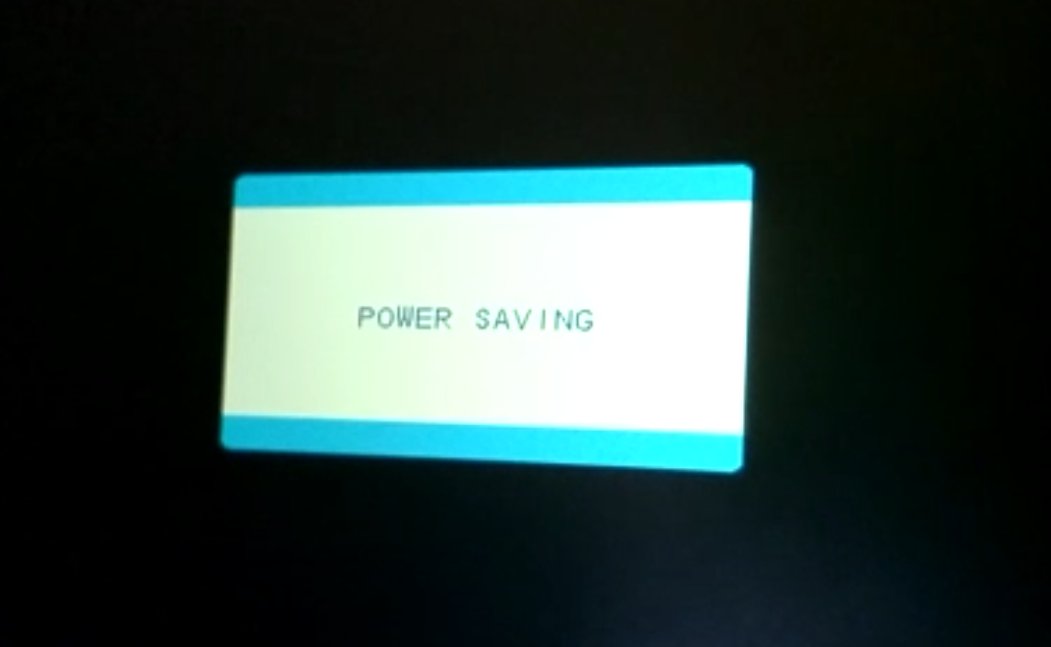 If you see a No Signal it means the monitor is powered properly. If after the “No Signal” you see “Power Saving” it means that the monitor is not receiving video signal from the HDMI port and goes to power saving sleep mode. In most systems you need to connect the USB-C cable first and then the HDMI to provide video signal If you have the HDMI connected, disconnect and reconnect it to initiate the video signal from the computer to the controller’s monitor If you are getting “No Signal” and then “Power Saving” when connecting with a USB-C to USB-C cable then it means the monitor is receiving enough power, but not video signal. Connect the HDMI. --- ##### Windows 10: a menu item does not appear on screen If using a 4k monitor and the MP Controller and If a menu does not appear in the controller’s screen then try this: Right click on the DAW exe program file and choose properties Then click high DPI settings and try these options 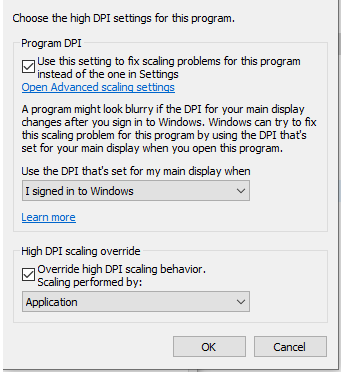Ensure you have set the scale at 100% in Windows display settings for the MP Controller's display
--- ##### Disable Auto-Scaling in Ableton Live on Windows If you have set the scaling to one of your other monitors to more than 100% then some menus of the MP Host may appear bigger and not centered. To solve this issue disable the Auto-scale on the MPH plugins in Ableton by right clicking once on each MPH from the plugin list . [https://help.ableton.com/hc/en-us/articles/209775985-High-DPI-monitor-support](https://help.ableton.com/hc/en-us/articles/209775985-High-DPI-monitor-support) 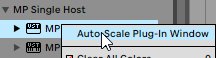The mp controller display should always be set to 100% scaling in Windows.
If you experience such issue, open the [host.properties ](https://kb.mpmidi.com/books/mp-controller-documentation/page/3-mp-host-properties-and-config-files)file in a text editor (Sublime, Notepad, Notepad++, TextEdit etc) and go to the end of the file. Find the line that has **<VALUE name="scale\_factor" val="100"/>** Set the value to the same value as your scaling factor in windows. For example if you are scaling your main display at 150%, change the number from 100 to 150. Save the host.properties text file. Quit the MP Host and reload it so that the change takes effect. The MP Host should now be centered on the mp controller's display. Alternatively you can change the DPI settings of Pro Tools.exe [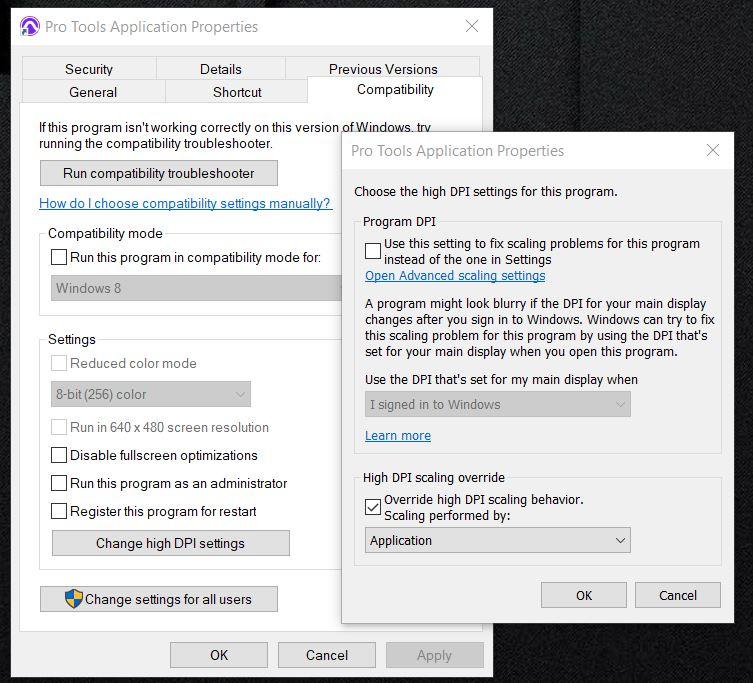](https://kb.mpmidi.com/uploads/images/gallery/2025-10/IZ275fhBjxXXFwMN-pro-tools-override-high-dpi.jpg) ---