**Latest version (download from your account):**
It will also work with Cubase v12 but there may be some minor things that don't work quite ok as v12 does not send back all the necessary info via the MIDI remote scripts.
**MIDI remote control surface is missing every time Cubase is restarted** This is an issue with Cubase 13.0.50 and onwards with MIDI remote scripts using the Cubase MIDI Remote API. This issue happens with other Remote MIDI scripts, not just the MP MIDI. Upon restarting Cubase, the Control Surface is missing and needs to be added again. [Here is a video](https://drive.google.com/file/d/1FuHmWfr8h6SvYiu787ncyCj6XL-vMDzL/view?usp=drive_link) that shows how to reproduce the issue, in the video we select a controller from AKAI, just to illustrate it happens with any controller not just the MP MIDI, and the issue is the same on Mac and Windows. A solution has been posted here:[ https://forums.steinberg.net/t/midi-remote-controller-disappearing-on-launch/951248/50?u=m\_p ](https://forums.steinberg.net/t/midi-remote-controller-disappearing-on-launch/951248/50?u=m_p)and we have copied it [here](https://docs.google.com/document/d/1ErQnAgy_YXWDR0zs7f1rvKvQq5OQJdr1EtQA9fq5Eh8/edit?usp=sharing)
 ##### How to download and install Download the Cubase Nuendo Control Surface installer for Mac/Windows from your account. **For Windows, follow this [Windows guide](https://docs.google.com/presentation/d/1VWoWMVaEIf_8H7EIE5_Xouti6Lw-IsbB/edit?usp=sharing&ouid=115404312711621168084&rtpof=true&sd=true) to continue the set up process.** **For Mac, follow the [macOS guide](https://docs.google.com/presentation/d/1tWXaNhd-2a7bQO7vrdO6hhfboSybX0M2/edit?usp=sharing&ouid=115404312711621168084&rtpof=true&sd=true) to continue the setup process.****Windows Users: [See this article](https://kb.mpmidi.com/UPDATE%20for%20up%20coming%20updates%20on%20Windows%2011%20MIDI%20Services%20-%20April%202026) about the new Windows 11 MIDI services.**
 ##### Pages in the MIDI Remote Script Page 1 - Home - Quick Controls Page 2 - Mixer - EQ and Mixer Controls Page 3 - Channel Strip - Detailed EQ and Strip Effects, Send Volume Level mapped on the right encoders column Page 4 to 16 - FX and Instrument control Page 17 and onwards - User Assignable pages --- ##### Page 1 - General Control and Quick Controls The first page carries a set of buttons pre-assigned to Cubase functions. When a button is pressed or selected it turns yellow. The colors can be customized from the button menu using right click. The track name appears on the right side, highlighted with the color of the track from Cubase. Below the track name there is the name of the device selected that has the QC focus. On the left top there is the name of the preset and below the title of the page. [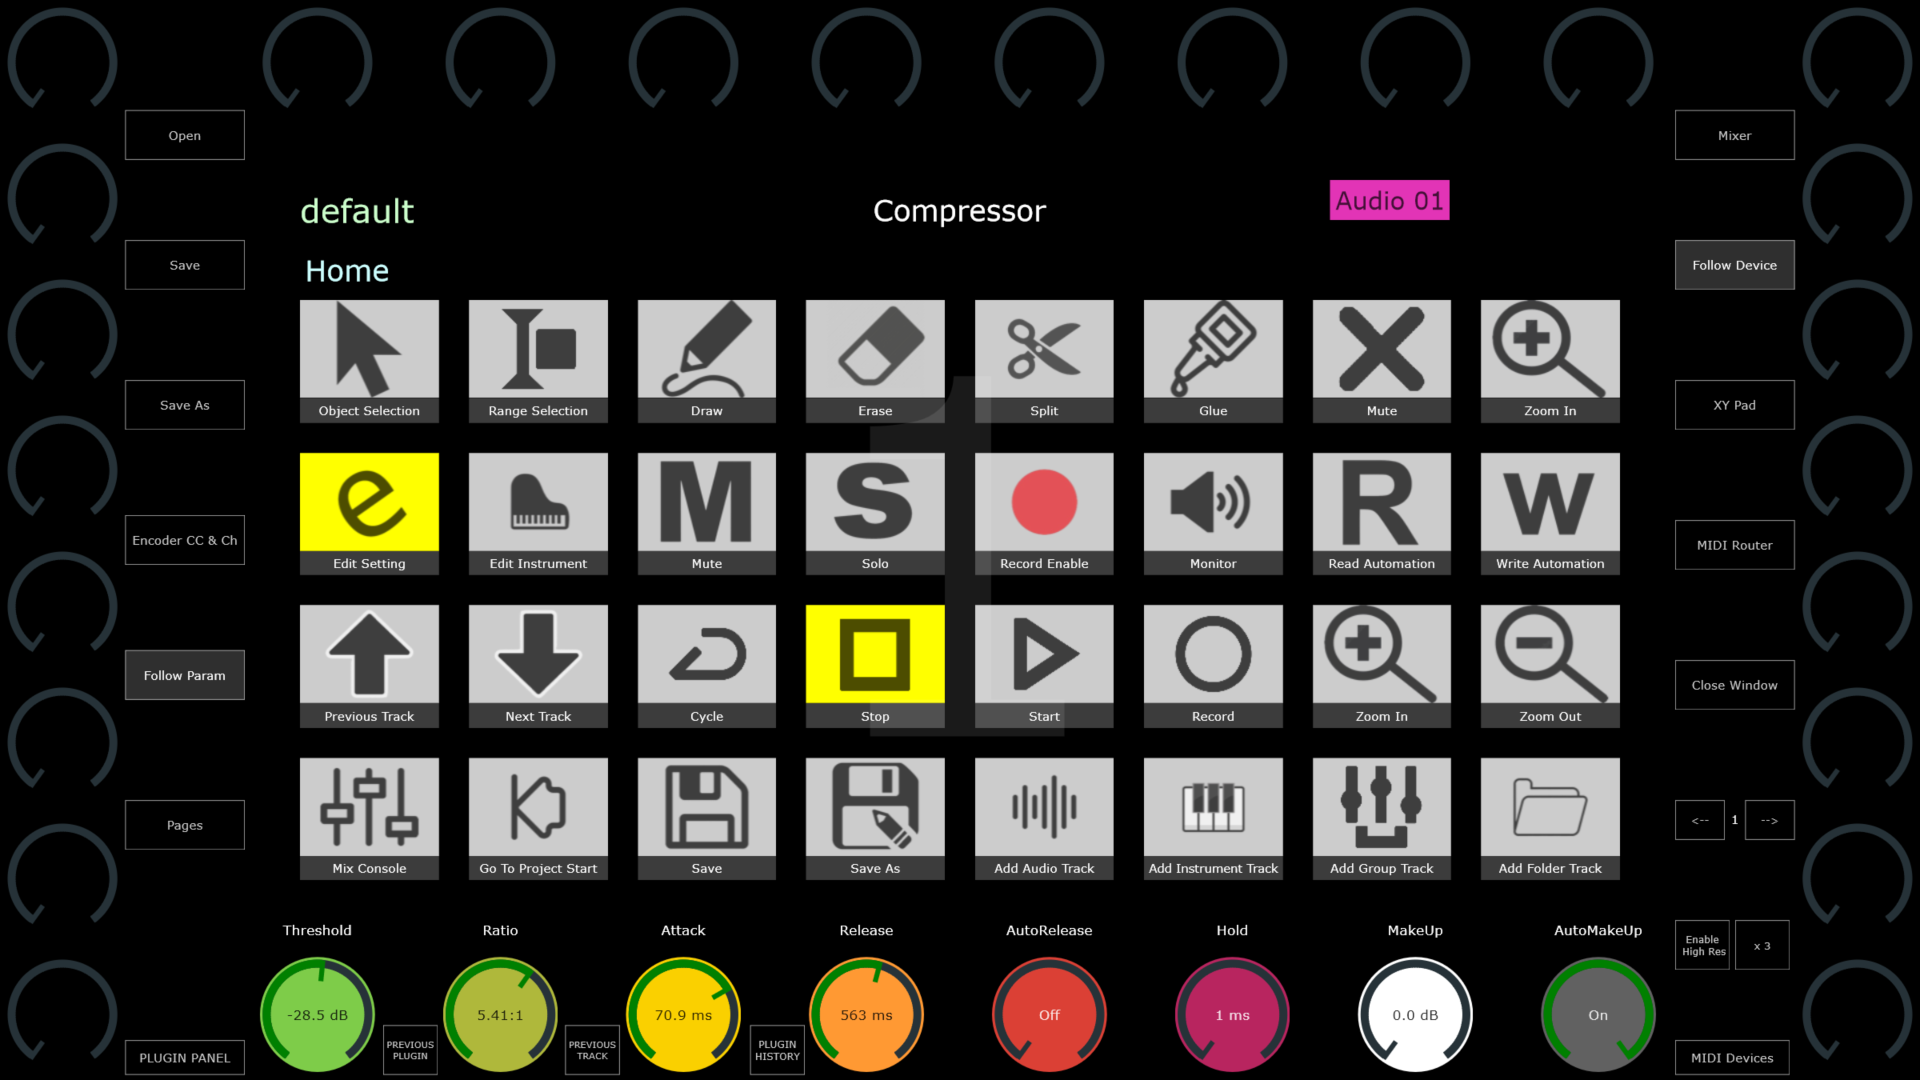](https://kb.mpmidi.com/uploads/images/gallery/2026-09/BhANeMsR8fMdIKbR-image.png) The bottom row of encoders are assigned to the 8 Quick Controls of Cubase (QC). You can change the assignments of Quick Controls in Cubase per device: 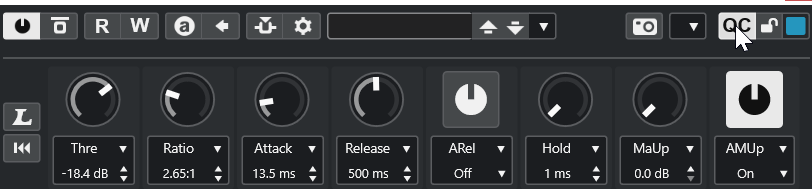 Once a device is selected in Cubase that has QC, the bottom row of encoders will sync with the QC parameters and display their names. The QC section turns blue once a device is selected  The rest of the encoders can be assigned freely to any parameter in Cubase or a third party plugin using the Learn Parameter function in Cubase. --- ##### Page 2 - Mix Console and EQ Control Page 2 is dedicated to controlling the Mix Console, the EQ and the 8 Send Levels of the selected track. On the top row of encoders we have mapped the Pan and in the bottom row the volume of each track. The encoders take their colors from Cubase track colors. On the left and right columns of encoders we have the EQ parameters and their colors are set to group them into bands. [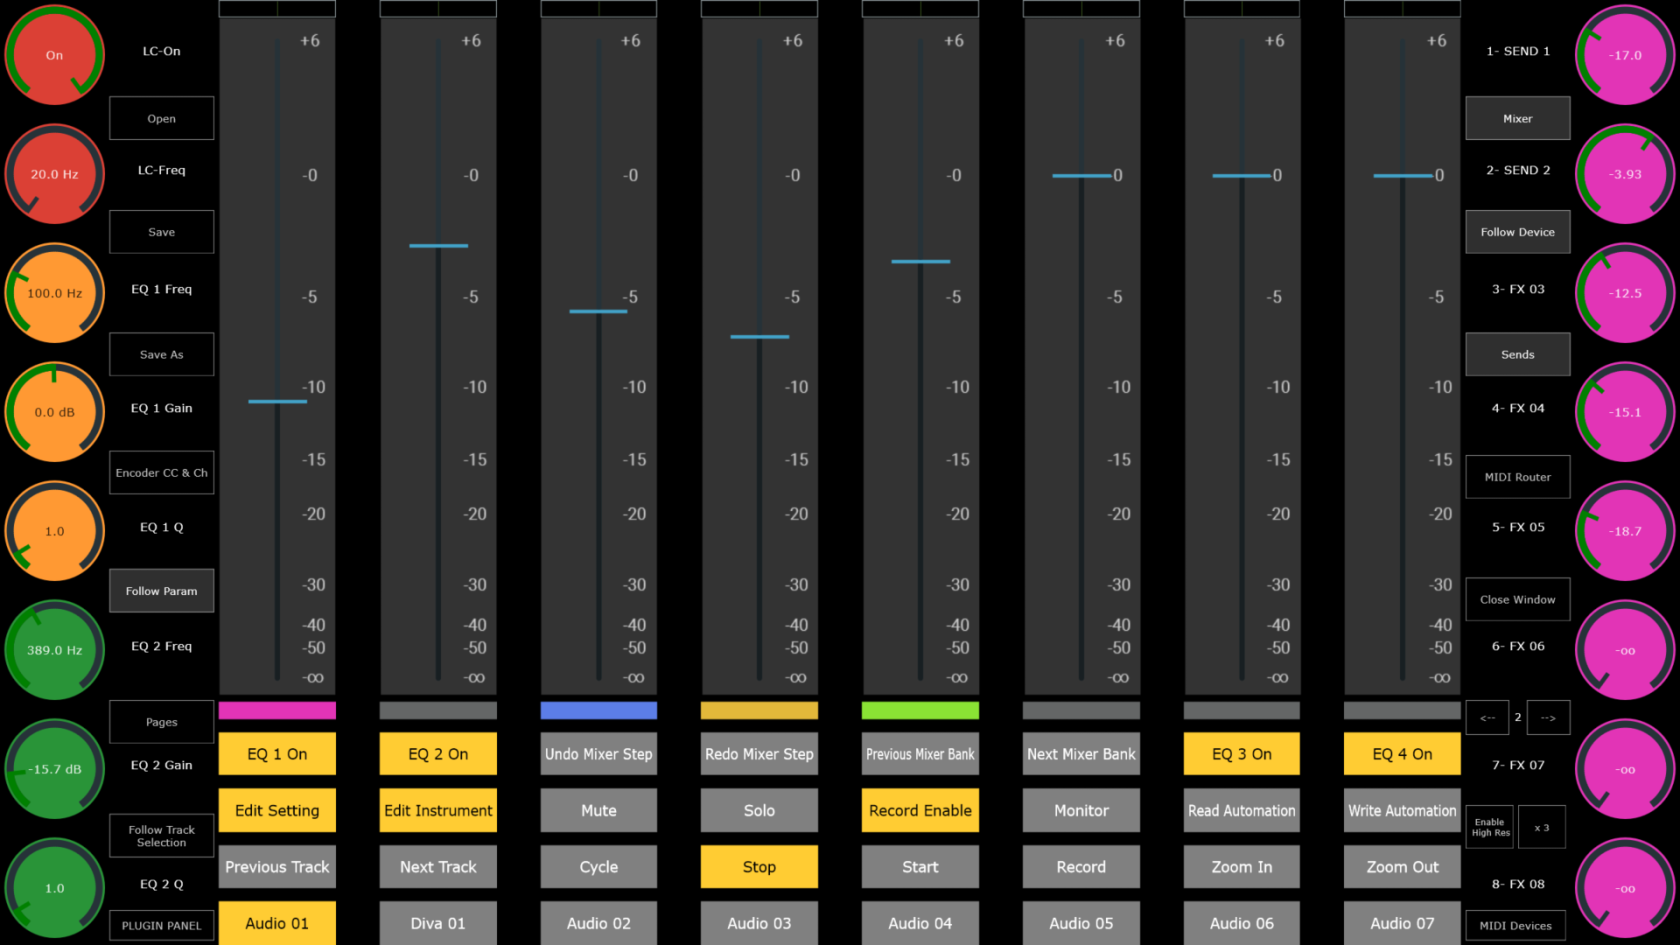](https://kb.mpmidi.com/uploads/images/gallery/2026-09/SwPNfgt7IVLxYRF1-image.png) Pressing the **Mixer** button will hid the mixer view and show this view: [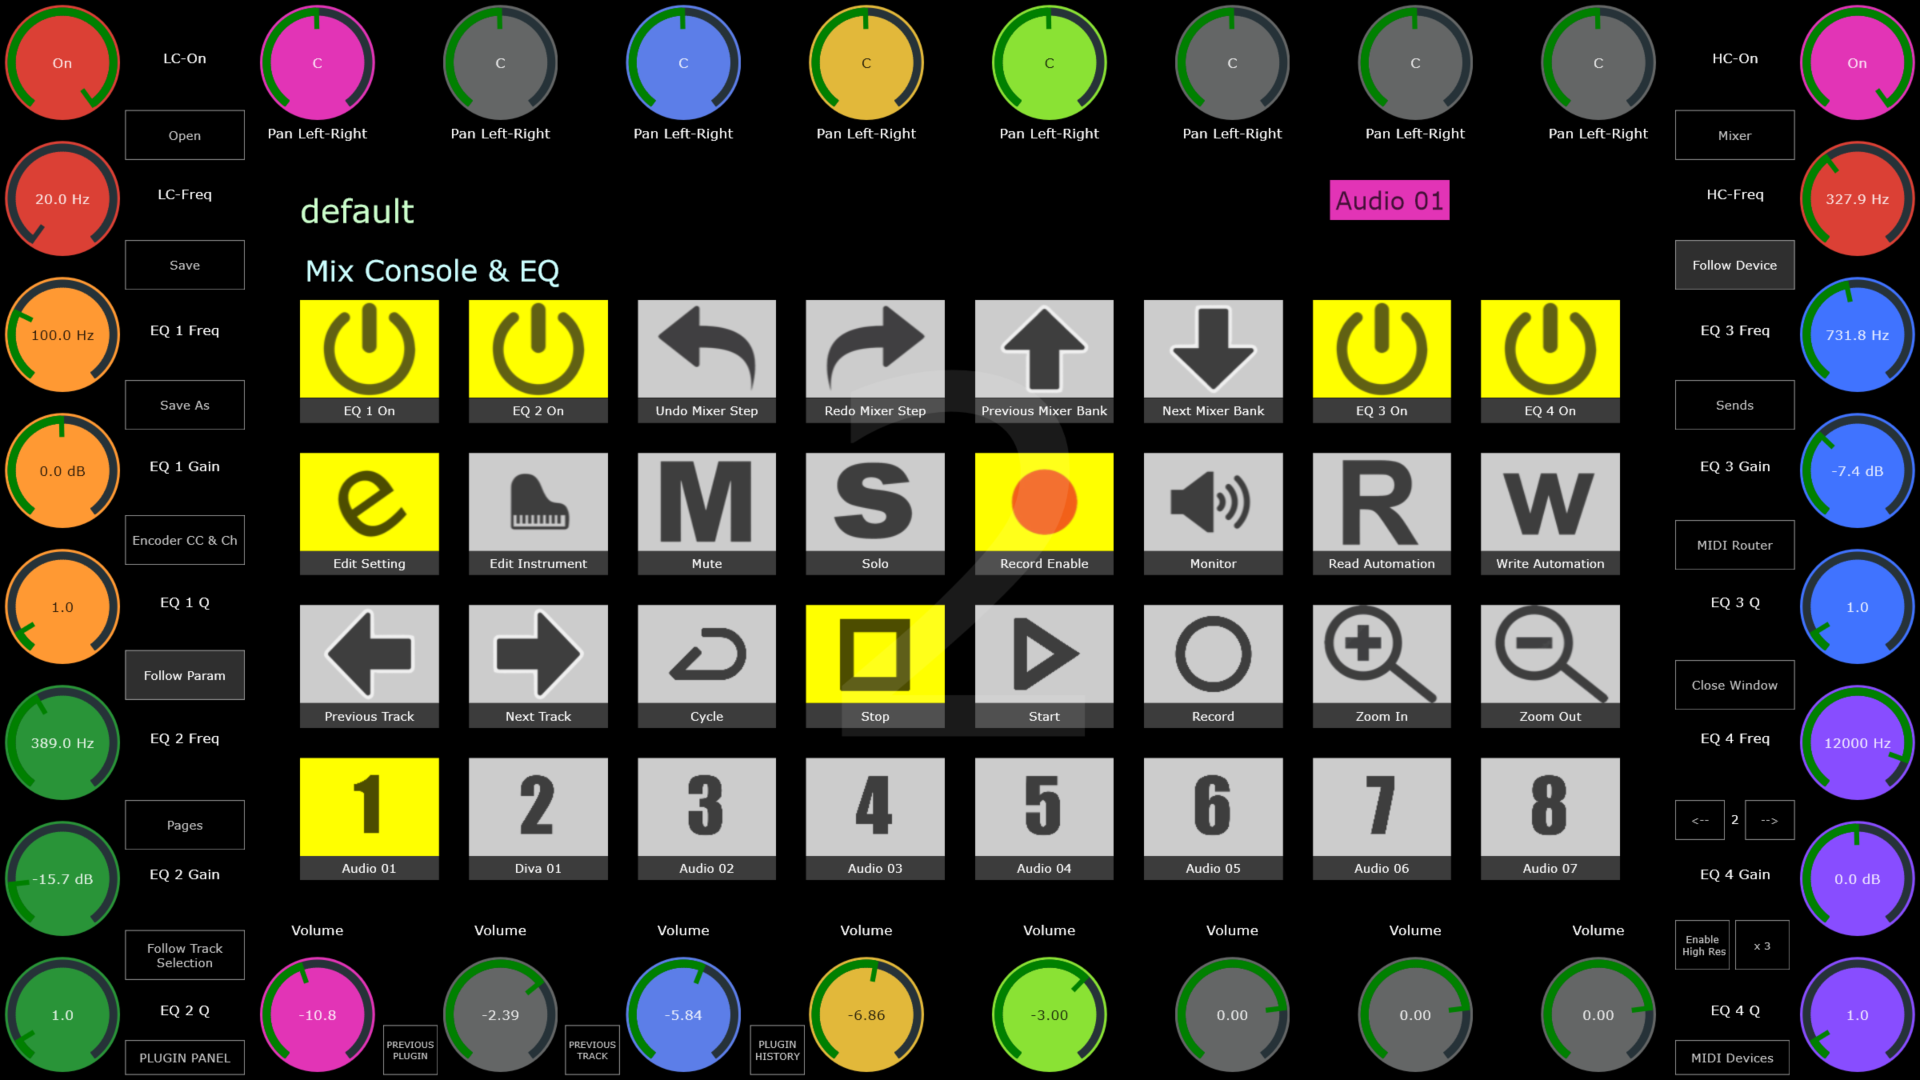](https://kb.mpmidi.com/uploads/images/gallery/2026-09/aL8oOMiaefgg8lm3-image.png) In this page, using the arrows buttons, Previous and Next Mixer Bank, will pass the control on the next 8 tracks.  You can also change tracks using the Previous and Next track buttons.  --- ##### Page 3 - Channel Strip and EQ Control In this page the top and bottom encoders are assigned to the EQ sections of the Channel Strip. The left column of encoders is assigned to the Noise Gate and the Compressor of the Channel Strip. 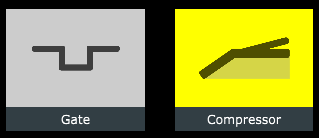 The right column of encoders is assigned to the Tools, Tape and Limiter of the Channel Strip. 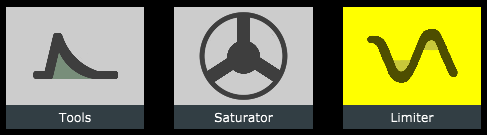 Selecting one from the buttons will deselect the rest of buttons and sync the parameter names and values of the controller encoders to the selected slot. Note that rearranging the order of the slots would not affect the assignments on the MP MIDI app. [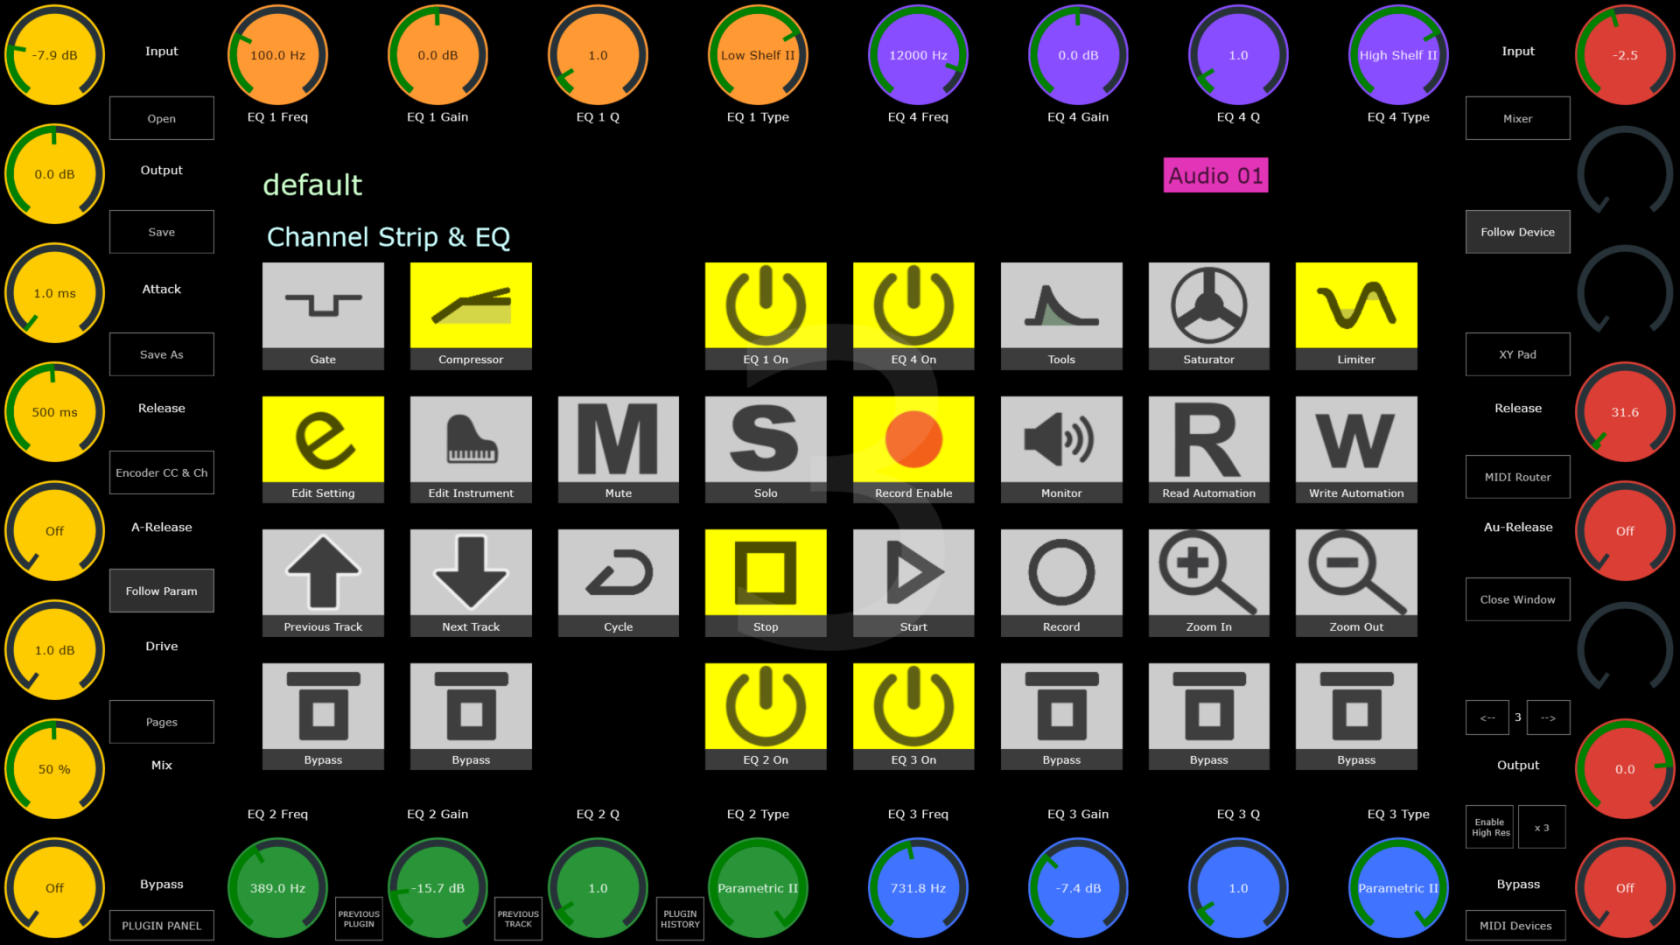](https://kb.mpmidi.com/uploads/images/gallery/2026-09/2TiiMMbyt4O6NTu1-image.png) --- ##### Page 4 to 16 - Plugin and Native Devices, MIDI effects, Audio Effect and Instrument Control **Audio Effect Control** [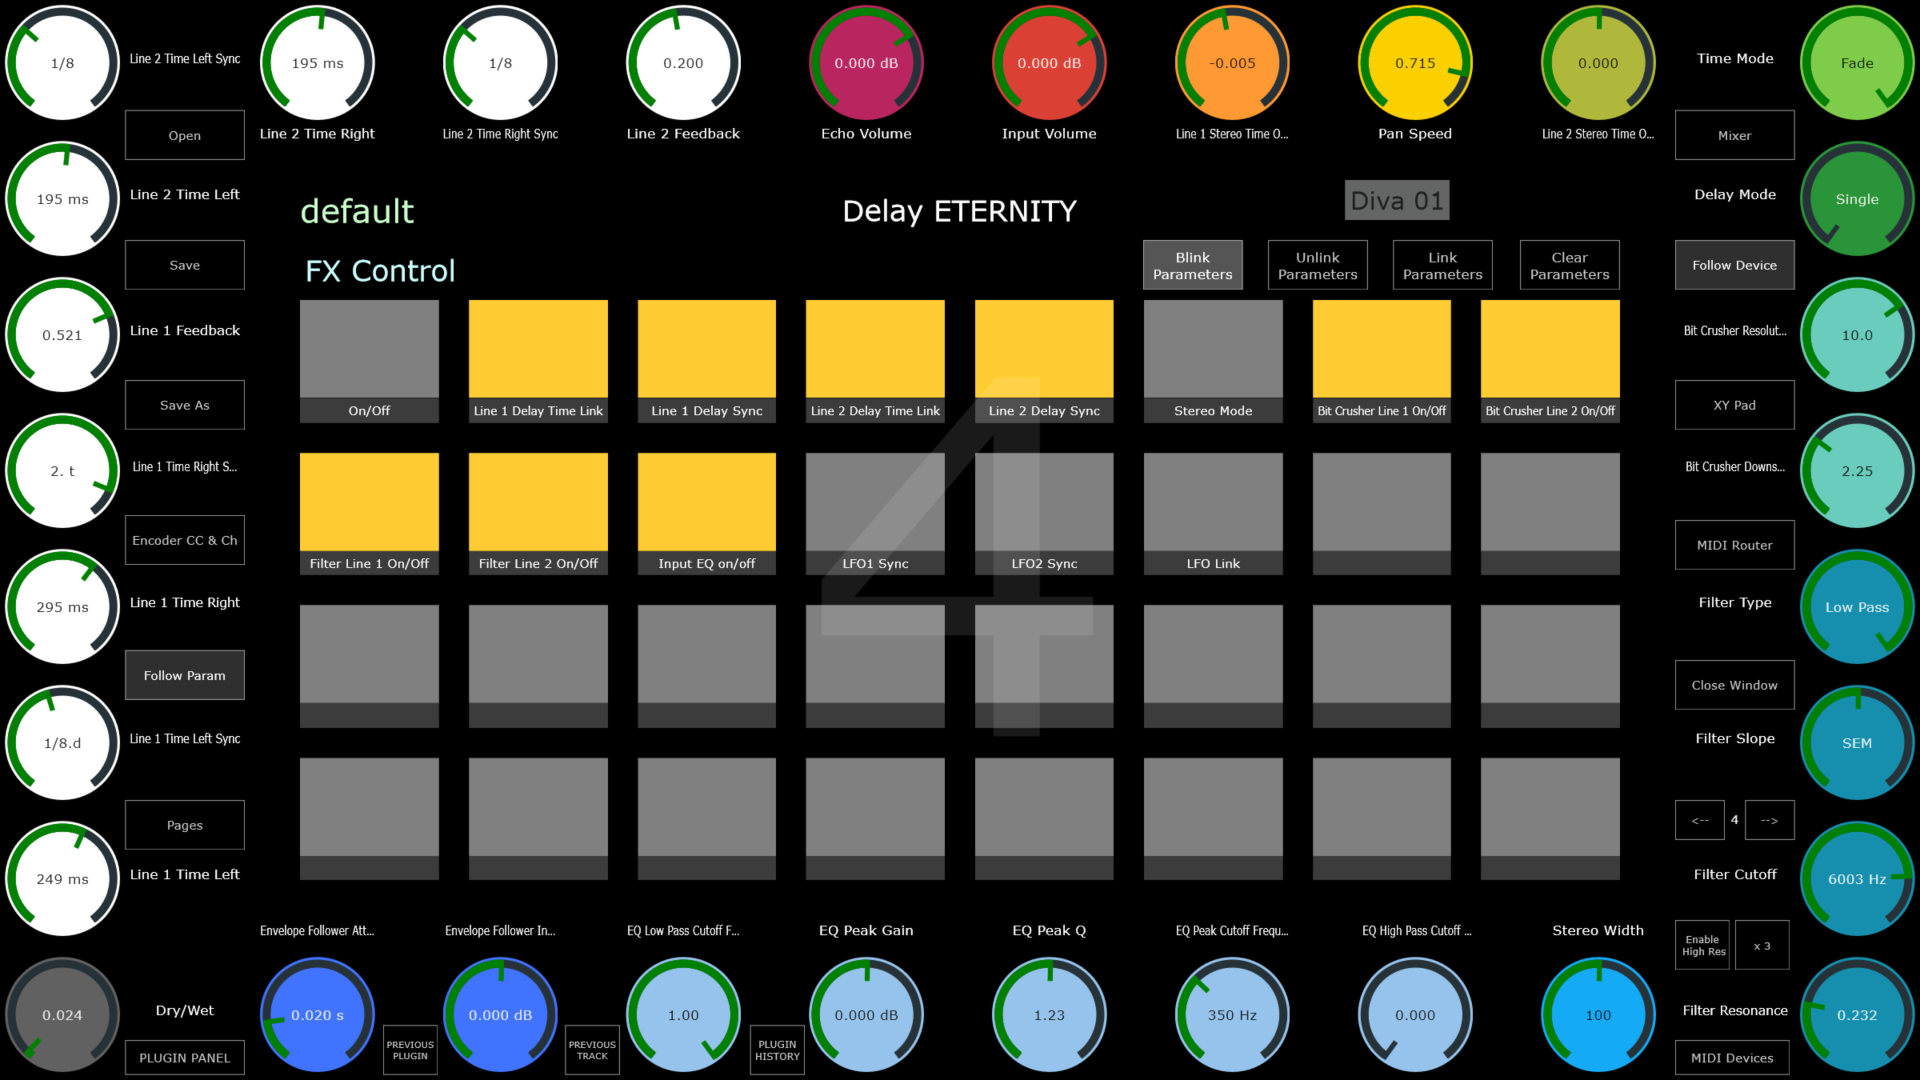](https://kb.mpmidi.com/uploads/images/gallery/2026-09/L06Bg1WsEPk0HsHM-image.png) **Instrument Control** [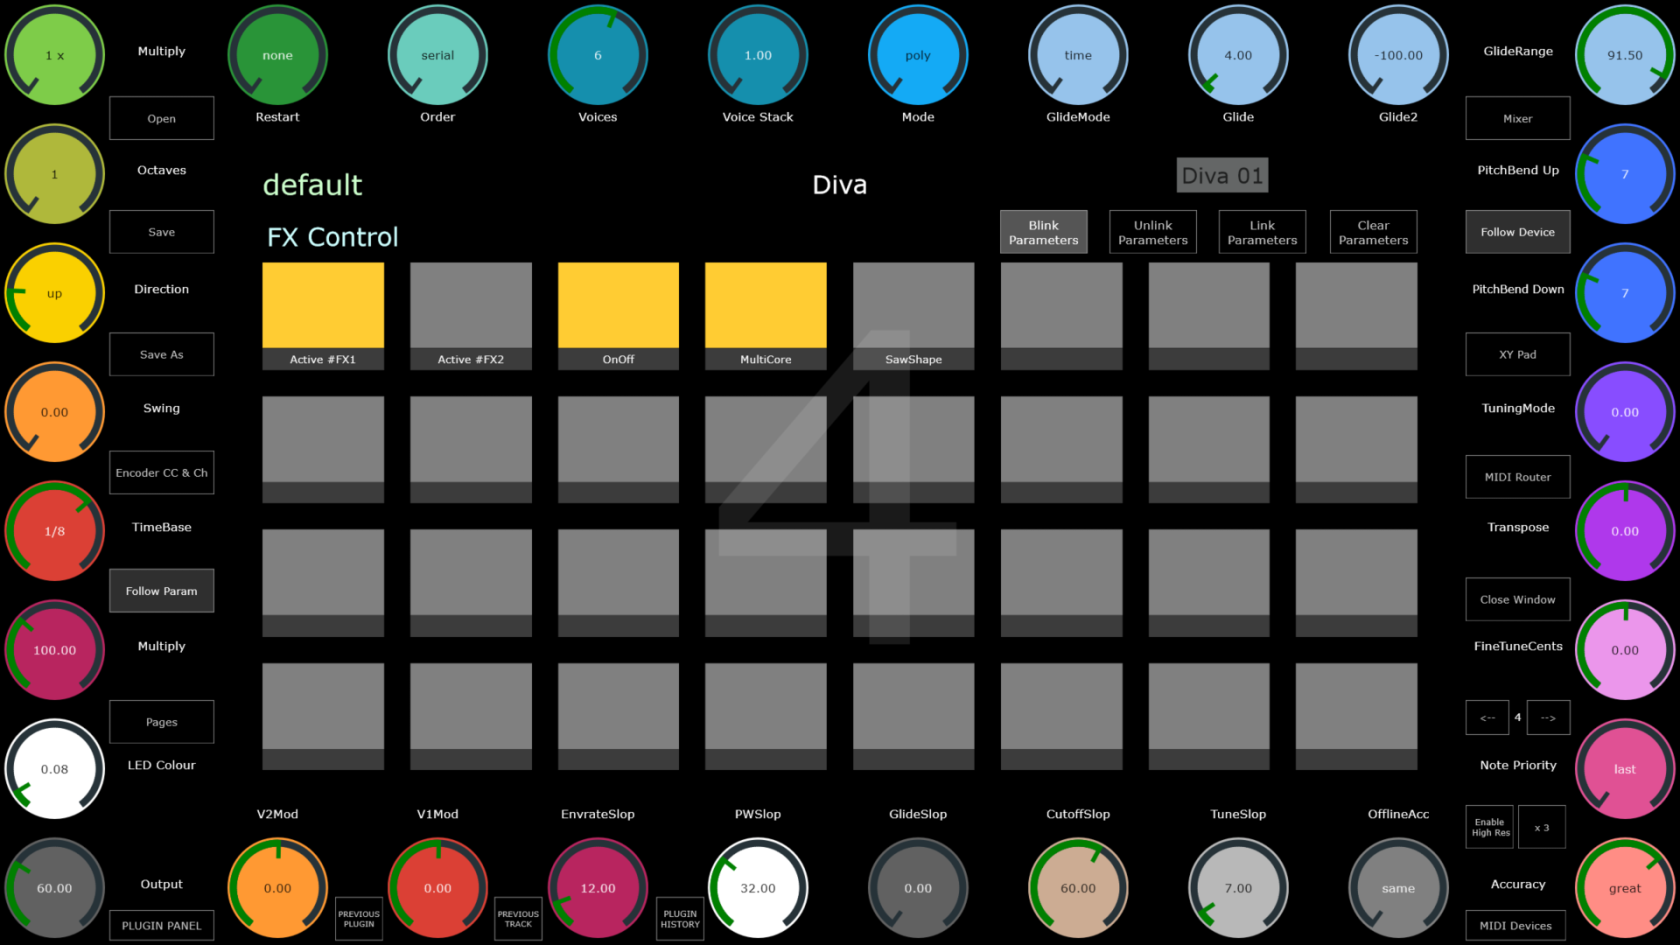](https://kb.mpmidi.com/uploads/images/gallery/2026-09/r2JfwWCfVbCIxKdL-image.png) **How to link parameters:** Press Clear Parameters to clear all mappings. Press Link Parameters and it will begin blinking [](https://kb.mpmidi.com/uploads/images/gallery/2026-09/L43Qpiuka0qIKNHK-image.png) Turn the encoder you want to map. Click on the Plugin/Device Parameter in Cubase. The encoder will be linked. Click on another parameter and it will link on the next encoder. To exit linking mode press on the Link Parameters again. Click Save to save the Plugin/Device preset. The preset will be automatically loaded every time you select that Plugin/Device. **How to unlink parameters.** Press the Unlink Parameters button. Click or turn the encoder you want to unlink. Click on other encoders if you need to unlink more. Press the Unlink Parameters button again to exit the unlinking mode. --- Following Cubase selections **Follow Device**: turn off to keep controlling the same plugin while you select other plugins in Cubase/Nuendo. **Follow Param**: turn off if you don't want MP MIDI to jump pages when you control parameters with the mouse. --- ##### Page 17 and onwards - User Assignable pages These pages carry some of the most essential buttons and you can use the free buttons and encoders to link anything in Cubase, creating your custom pages. For example, you can link 32 volume tracks for the Mix Console. [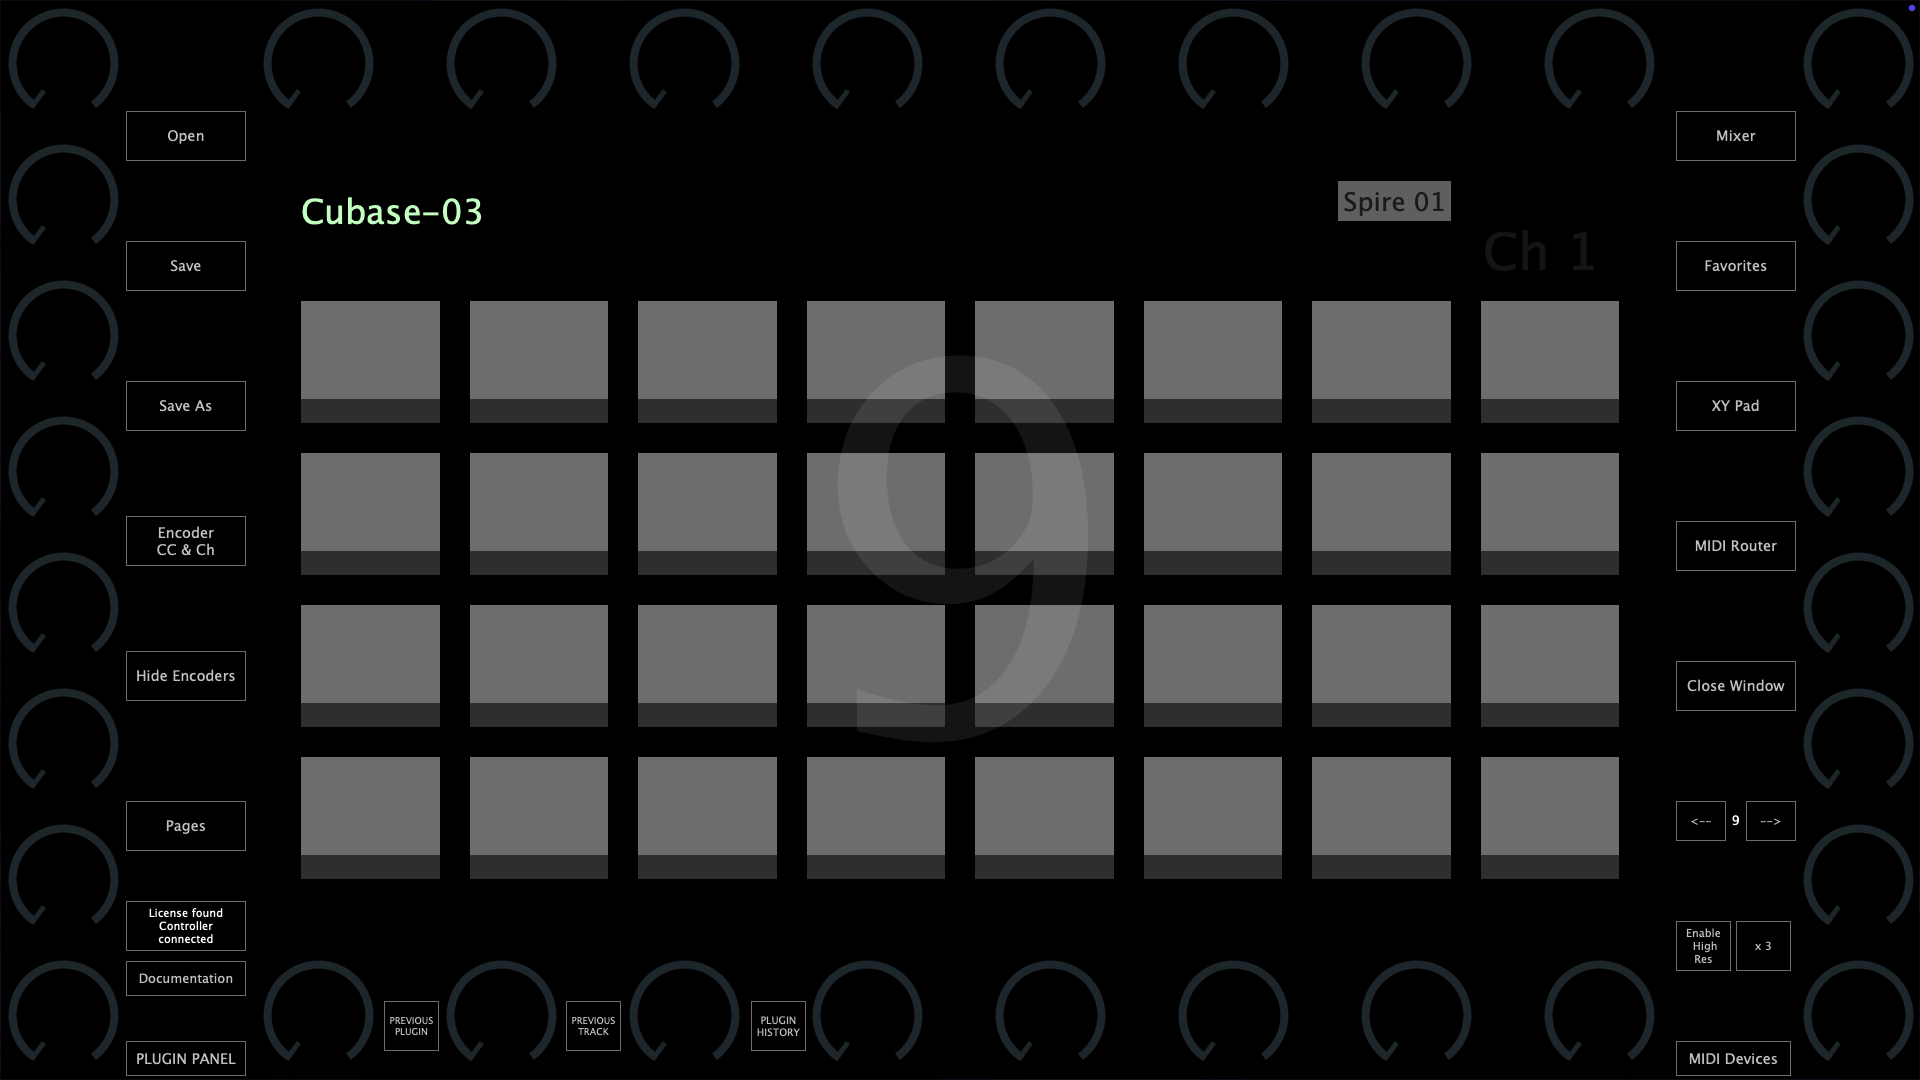](https://kb.mpmidi.com/uploads/images/gallery/2025-06/HXIG3lEmffbh4t97-image.png) If you want to use the MP MIDI app for other MIDI control purposes, it is also a good idea to use one of the buttons to open up another preset (you can set a button to open a preset via Push Options > Go to Preset) where you will have all pages and buttons available to use for anything. The switch between presets is immediate so it will feel like you are working in the same preset. ---