3. Display and Touch Setup On Windows
Important information on how to setup the display and touch function on Windows
- 1. Windows - Display and Touch Setup
- 2. Windows - Model 1A touch setup
- 3. Windows - Model 1A+/2A configuration for the touch hardware
- 4. Windows - Fullscreen and In Window Modes
- 5. Using a stylus pen on the touch screen
- 6. Select the target monitor for the MP Controller
- 7. Touch screen calibration on Windows
- 8. Ableton crashes when loading certain plugins on the secondary display
1. Windows - Display and Touch Setup
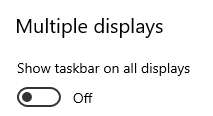
On Windows, first disable the Taskbar on Multiple Displays
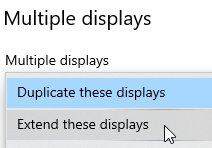
Then, choose to Extend the Displays, from Display Settings
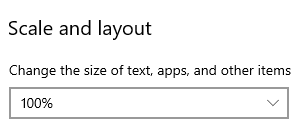
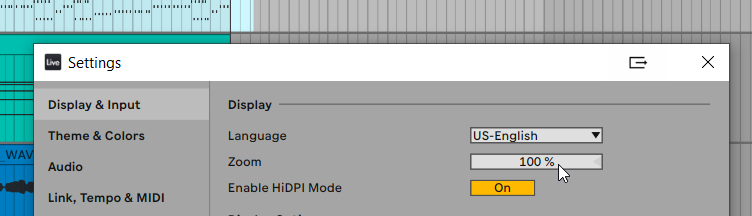
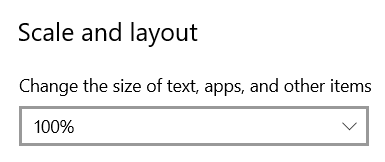
Set, the magnification (Scaling) on Windows to 100% on the MP Controller’s display.
if you have a different scaling setting, the MPH plugin or hosted plugins may look either too big or out of bounds,
showing partially instead of full
First select the display that is the MP Controller and it will turn blue
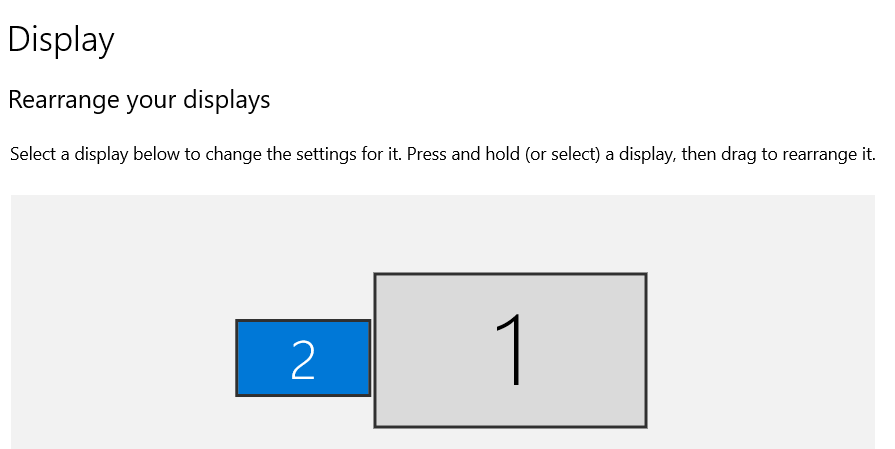
Set it to 100%
Windows 10/11 Touchscreen setup
For Model 1A+/2A see this guide
For Model 1A see this guide
Getting “No Signal” and then “Power Saving”
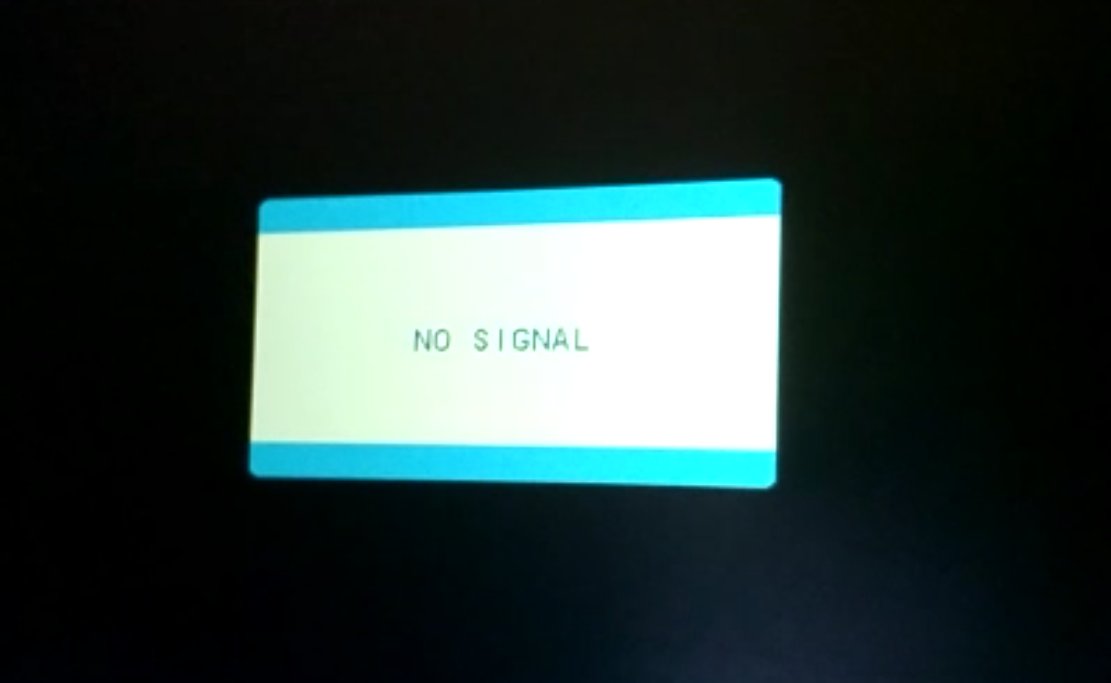
If you see a No Signal it means the monitor is powered properly.
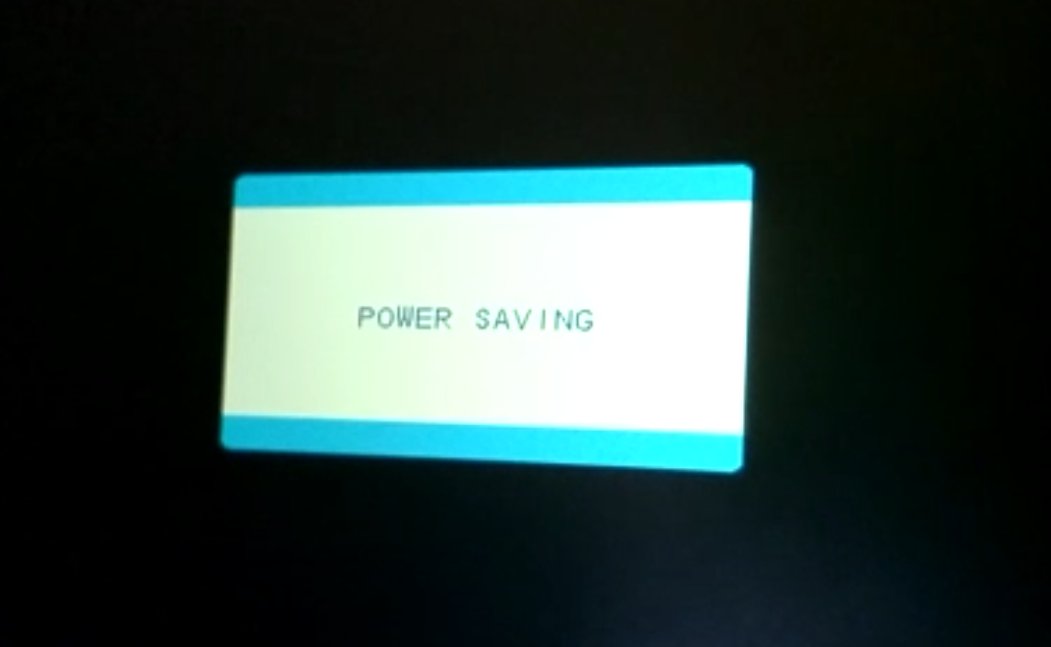
If after the “No Signal” you see “Power Saving” it means that the monitor is not receiving video signal from the HDMI port and goes to power saving sleep mode.
In most systems you need to connect the USB-C cable first and then the HDMI to provide video signal
If you have the HDMI connected, disconnect and reconnect it to initiate the video signal from the computer to the controller’s monitor
If you are getting “No Signal” and then “Power Saving” when connecting with a USB-C to USB-C cable then it means the monitor is receiving enough power, but not video signal. Connect the HDMI.
Windows 10: a menu item does not appear on screen
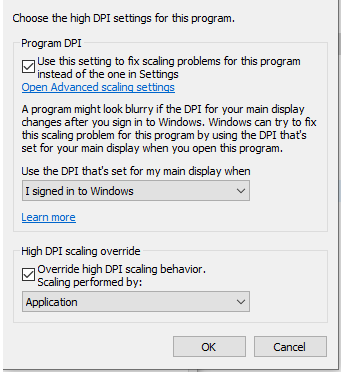
If using a 4k monitor and the MP Controller and If a menu does not appear in the controller’s screen then try this:
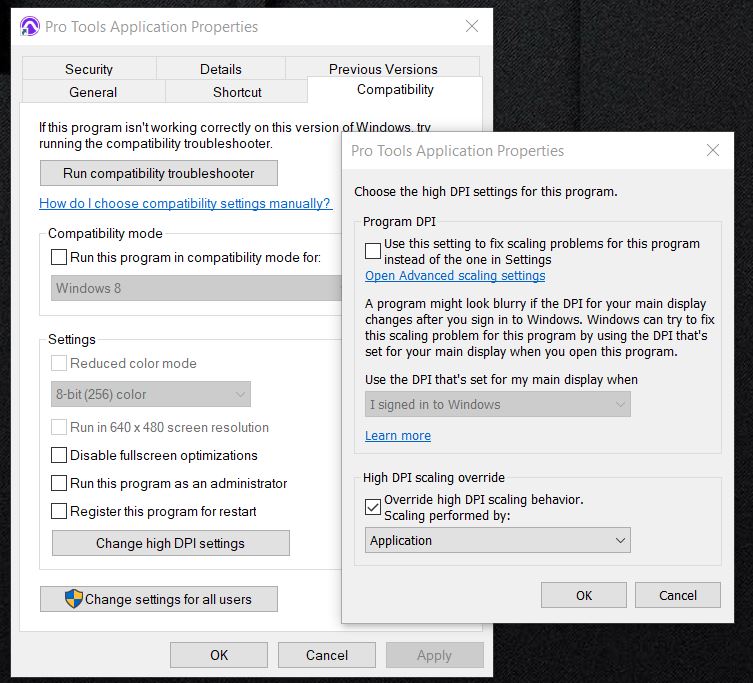
Right click on the DAW exe program file and choose properties
Then click high DPI settings and try these options
Ensure you have set the scale at 100% in Windows display settings for the MP Controller's display
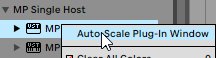
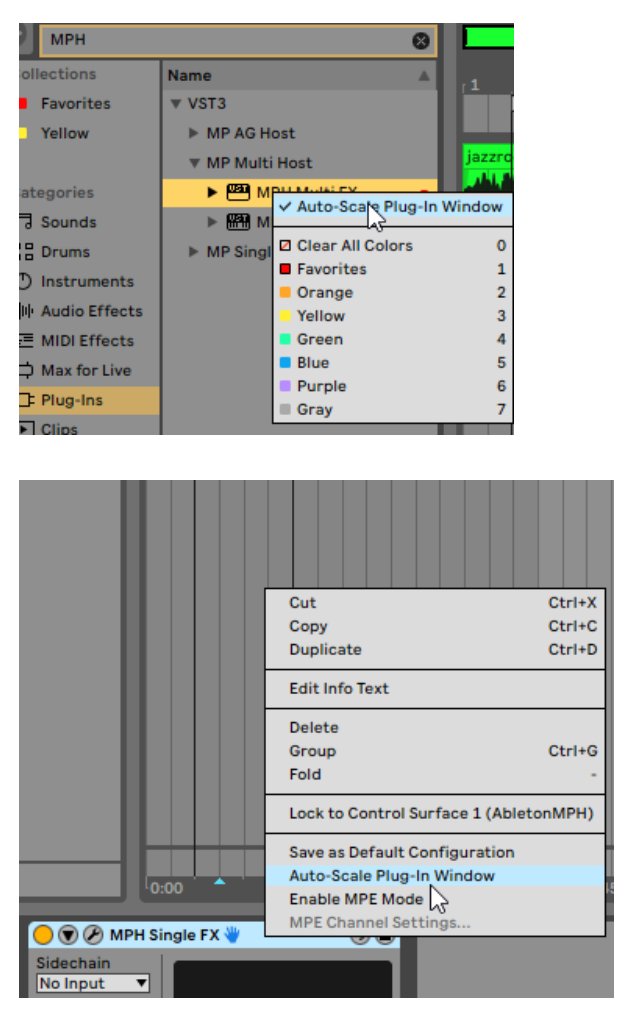
Disable Auto-Scaling in Ableton Live on Windows
If you have set the scaling to one of your other monitors to more than 100% then some menus of the MP Host may appear bigger and not centered.
To solve this issue disable the Auto-scale on the MPH plugins in Ableton by right clicking once on each MPH from the plugin list .
https://help.ableton.com/hc/en-us/articles/209775985-High-DPI-monitor-support
Additionally, instead of scaling the Windows display you can increase the Zoom level in Ableton Live
Pro Tools and 4K monitors
If you are using Pro Tools on Windows and you have a 4K monitor as your main display and it is scaled in Display Settings, for example at 125% the MP Host may display off-centered on the display of the mp controller.
The mp controller display should always be set to 100% scaling in Windows.
If you experience such issue, open the host.properties file in a text editor (Sublime, Notepad, Notepad++, TextEdit etc) and go to the end of the file. Find the line that has <VALUE name="scale_factor" val="100"/>
Set the value to the same value as your scaling factor in windows. For example if you are scaling your main display at 150%, change the number from 100 to 150.
Save the host.properties text file.
Quit the MP Host and reload it so that the change takes effect.
The MP Host should now be centered on the mp controller's display.
Alternatively you can change the DPI settings of Pro Tools.exe
2. Windows - Model 1A touch setup
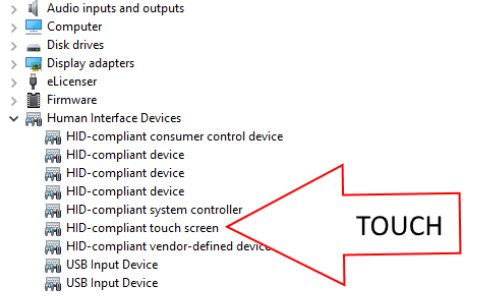
Check that the Touch Screen is showing in the Device Manager
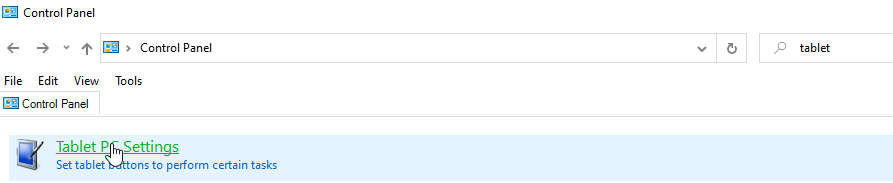
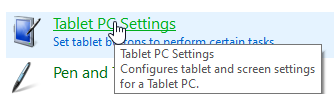
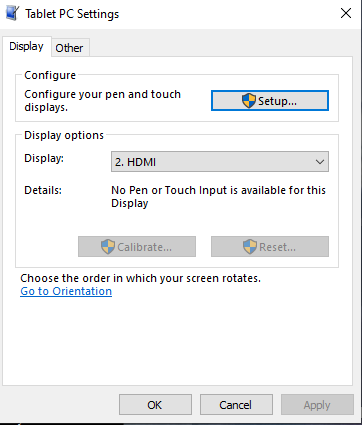
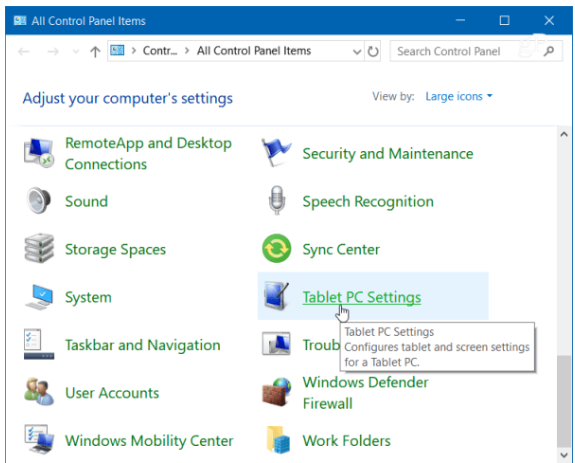
Then Open the Control Panel in Windows 10. In the search type Tablet and click on Tablet PC Settings
The choose the Display R15PMT01 from the dropdown of the Display Options and click Setup
If Tablet is not shown in your control panel see this post, here are the steps to follow:
-
Go to the Desktop.
-
Right click on the Desktop and select New/Shortcut.
-
In the Type the location of the item window, Copy/Paste the following.
-
%windir%\explorer.exe shell:::{80F3F1D5-FECA-45F3-BC32-752C152E456E}
-
Click the Next button and type the name Tablet PC Settings.
-
Click the Finish button.
-
Double Click the new shortcut and it should open the Table PC Settings window.

All the screens should be white with the following message being displayed:

Press Enter to move to the controller’s touchscreen. You need to tap on the controller’s touchscreen once. That’s it, now Windows has identified the controller’s touchscreen. You can test by tapping or touch and drag on it and you will see trails.
Please note the magnification (Scaling) on Windows 10 should be set to 100% for the MP Controller's display (if you have a different setting the MPH plugin or hosted plugins may look either too big or out of bounds, showing partially instead of full)
3. Windows - Model 1A+/2A configuration for the touch hardware
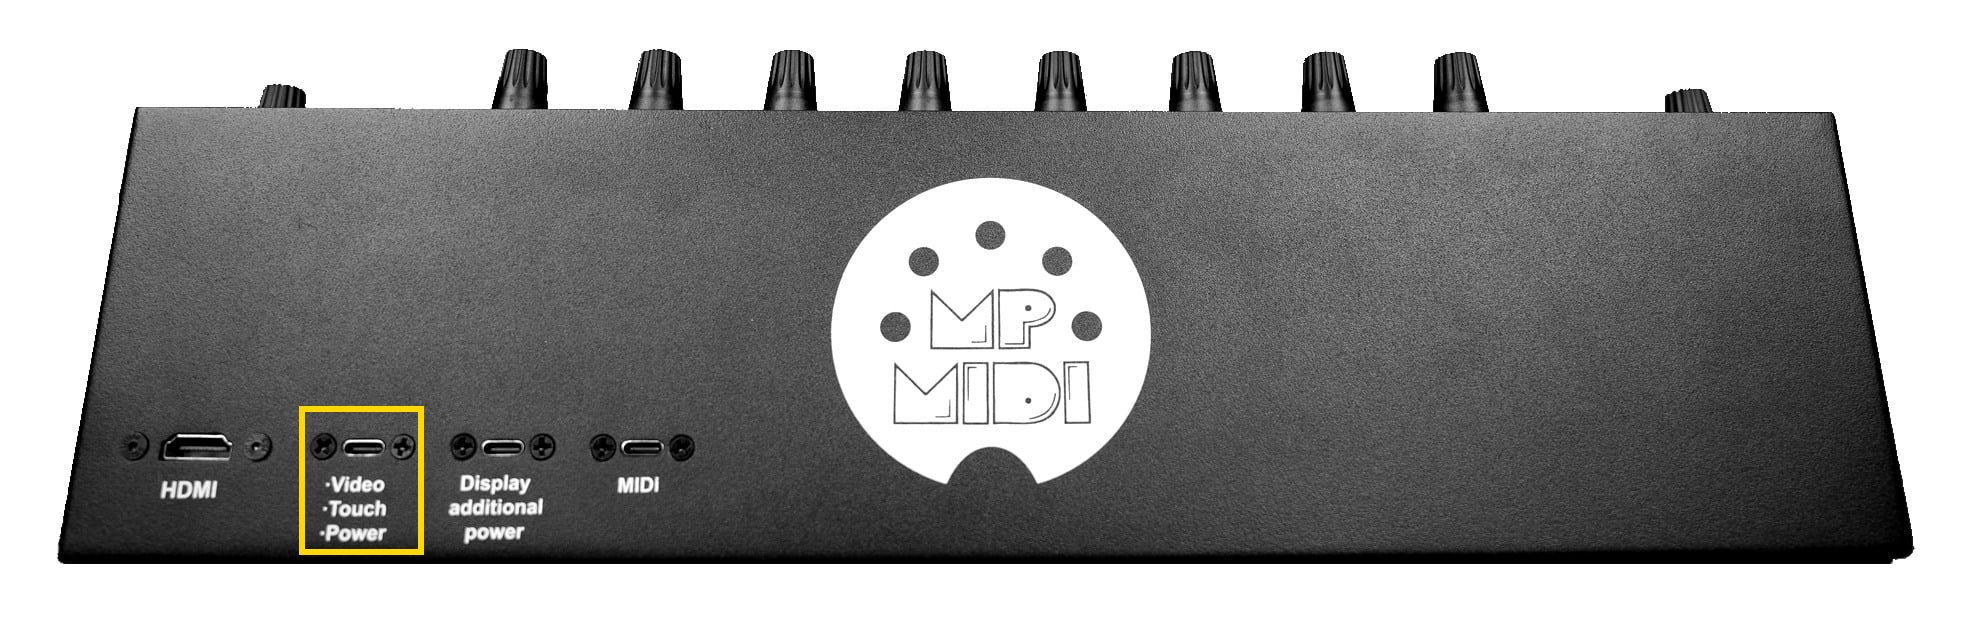
1. Connect the USB cable provided on the USB-C Display port and the other end directly to a USB-A port on the PC. (The first time don’t use a hub but connect directly to the PC to eliminate the possibility of any incompatibility problems caused by the hub).
The HDMI should be connected as well, or else the display will automatically go to sleep mode.
No drivers are needed to be installed for Windows. The touchscreen is automatically installed by Windows. After connecting, the touch should be working but sending the touch gestures on another display connected on the computer. This is normal and you will identify the touch screen in the next step.
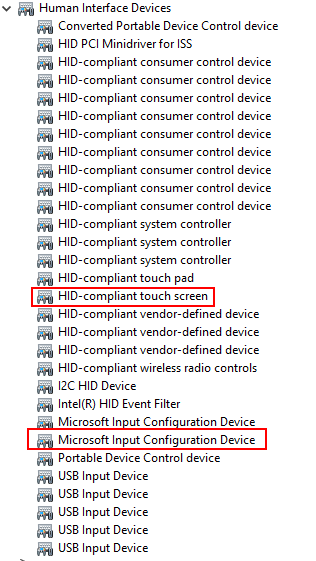
2. If it is not responding to touch (even on another screen), check the Device manager to see if the following items show up. If they are not showing up, then this is a connection problem. Connect the USB cables provided directly on the computer USB 2 or USB 3 ports and check the device manager again. The touch screen will not work if it does not show up in the device manager.
3. Open the Control Panel in Windows. In the search type Tablet and click on Tablet PC Settings
If Tablet is not visible in your control panel here are the steps to follow:
Go to the Desktop.Right click on the Desktop and select New/Shortcut.
In the Type the location of the item window, Copy/Paste the following.
%windir%\explorer.exe shell:::{80F3F1D5-FECA-45F3-BC32-752C152E456E}
Click the Next button and type the name Tablet PC Settings.
Click the Finish button.
Double Click the new shortcut and it should open the Table PC Settings window.
4. Select HDMI (or however it shows up on your PC) and Choose Setup
Then a white screen will appear. Hit enter until you see it on the MP Controller’s display (don’t touch the MP Controller display until it appears on the MP Controller’s display)
The message will be:
|
|

The touch should now be functioning on the MP Controller’s display. Click OK on the control panel window to close it.
If you are having trouble identifying the touch screen, see this instructional video
Please note the magnification (Scaling) on Windows 10/11 should be set to 100% for the MP Controller's display (if you have a different setting the MPH plugin or hosted plugins may look either too big or out of bounds, showing partially instead of full)
Troubleshooting the Touch function on Model 1A+
If the touch screen does not appear in the Device Manager then disconnect the MIDI cable and connect directly to a USB-A port of the PC (not via hub or Y-cable) the display using the cables we provided.
The display should power on and wait for the HDMI to be connected so that it can stay on.
If it cannot be powered on and it flickers/restarts that is due to not enough power from the USB port and in this case you can use the Y-cable or try it on another computer or port.
If it is powering on fine and still not showing up in the Device Manager and/or shows
![]()
then the problem is with the MP Controller’s internal USB-C port cable.
The only thing that is in between the touchscreen/LCD board is a short cable which leads to the port on the device.
To bypass this port cable (it is a short cable USB-C male to USB-C female) one has to unscrew the bottom cover.
Then disconnect the USB-C from the board and connect it directly to the computer.
It should show up properly in the Device Manager.
Send us an email for a replacement USB-C port.
4. Windows - Fullscreen and In Window Modes
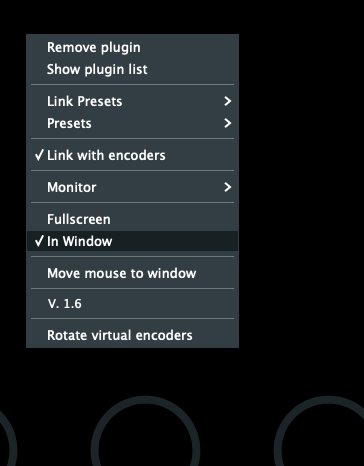
If you have the taskbar of Windows set to be displayed on all monitors, you may want to run the MP Host in Full Screen mode and it will appear on top of the taskbar.
If you run it in Windowed mode, the taskbar will appear on top of the MP Host.
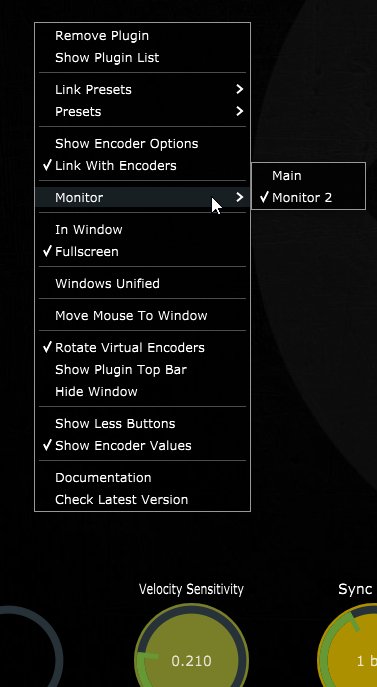
Right click on the main area to see the menu
5. Using a stylus pen on the touch screen
You can use a stylus pen made for capacitive touch screens. This pen has a rubber rounded end like:
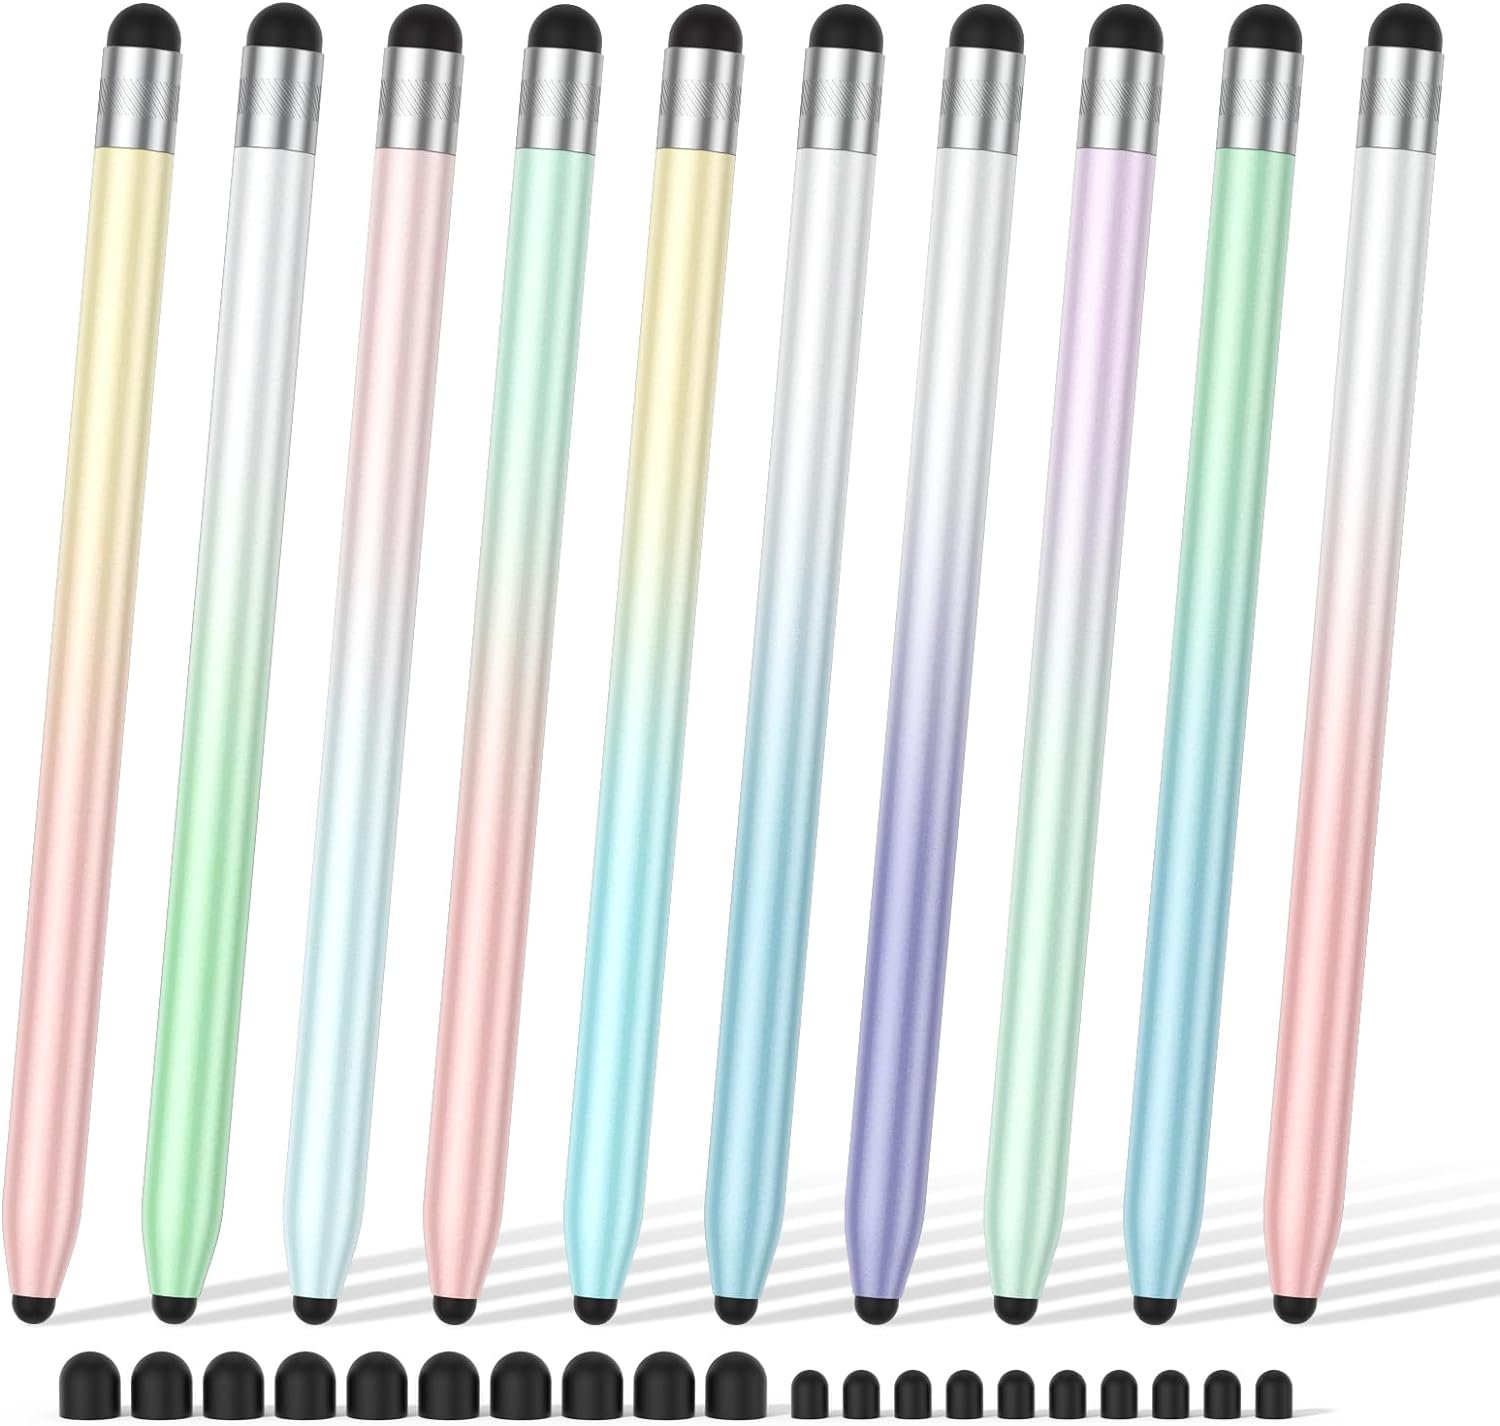
for example https://www.amazon.com/Touchscreen-Sensitivity-Precision-Capacitive-Smartphone/dp/B0CSNPHQ4G
6. Select the target monitor for the MP Controller
The first time you load the MP Host plugin, it will be displayed on your main monitor.
You need to select the target monitor from the big window of the MP Host plugin.
Right click anywhere on the main black area of the big window and from the menu under Monitor, select the target monitor which will be the last monitor in the list.
7. Touch screen calibration on Windows
This procedure is generally not needed and it is optional.
If you feel that you need to calibrate your touch screen, you can do it via the following procedure:
1. To get started, open the Control Panel and select Tablet PC Settings. If you do not see the option, ensure View by is selected to Large or Small Icons.
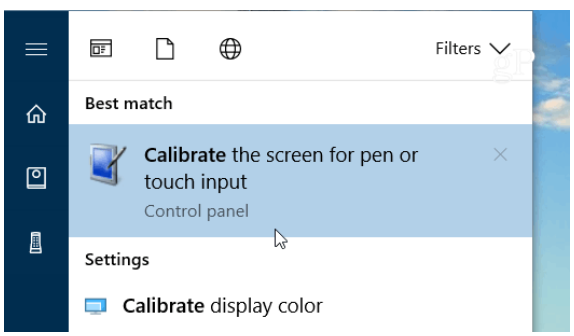
2. Or, hit the Windows key and type: calibrate and select the “Calibrate the screen for pen or touch input” result at the top.
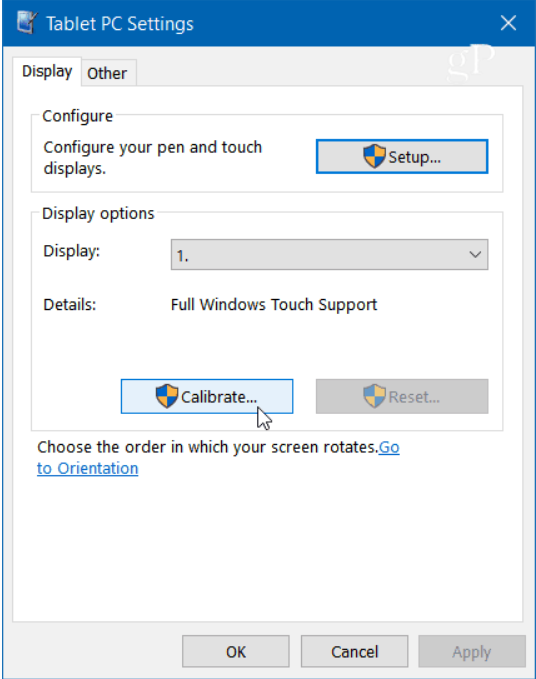
3. It will have two tabs if you only have a touchscreen, but if you have configured a pen device, you will have three tabs. In the following example, I only have a touch screen – select the Calibrate button under the Display tab.
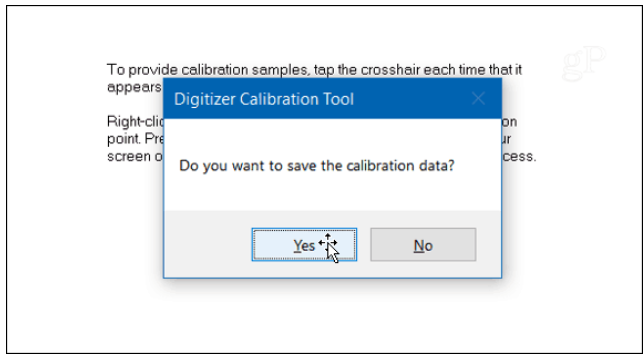
4. Next, your screen will go white and display instructions for going through the calibration process. It’s a simple process. A crosshair will appear on the screen and each time you tap it will move to a different spot. Continue through the entire process, and when you’re finished, you’ll be prompted to save the results. The touch screen should now be more responsive and accurate when you interact with it.
8. Ableton crashes when loading certain plugins on the secondary display
If you experience crashes when the MPH is on the controller's display and loading certain plugins, for example Arturia, but it works fine when on the primary main display, check if you have the following installed:
AudioDevProps2.dll C:\ProgramData\A-Volute\A-Volute.28054DF1F58B4\Modules\ScheduledModules\x64\
NahimicOSD.dll C:\ProgramData\A-Volute\A-Volute.28054DF1F58B4\Modules\ScheduledModules\x64\
ProductInfo.dll C:\ProgramData\A-Volute\A-Volute.28054DF1F58B4\Modules\ScheduledModules\x64\
AudioDevProps2.dll C:\ProgramData\A-Volute\A-Volute.SonicStudio3\Modules\ScheduledModules\x64\
ProductInfo.dll C:\ProgramData\A-Volute\A-Volute.SonicStudio3\Modules\ScheduledModules\x64\
Nahimic/A-Volute is known to:
- Hook into audio applications and DAWs
- Inject into Ableton's process
- Intercept window messages and audio APIs
- Cause crashes with multi-monitor DPI issues
- Notice AudioDevProps2.dll appears TWICE from different A-Volute installations
The NahimicOSD.dll (On-Screen Display) is particularly problematic - it hooks into graphics rendering and can break DPI context handling.
To solve the issue disable the Nahimic service from Windows Services and start Ableton.