4. Adjusting the brightness of the display
Model 1A+/Model 2A
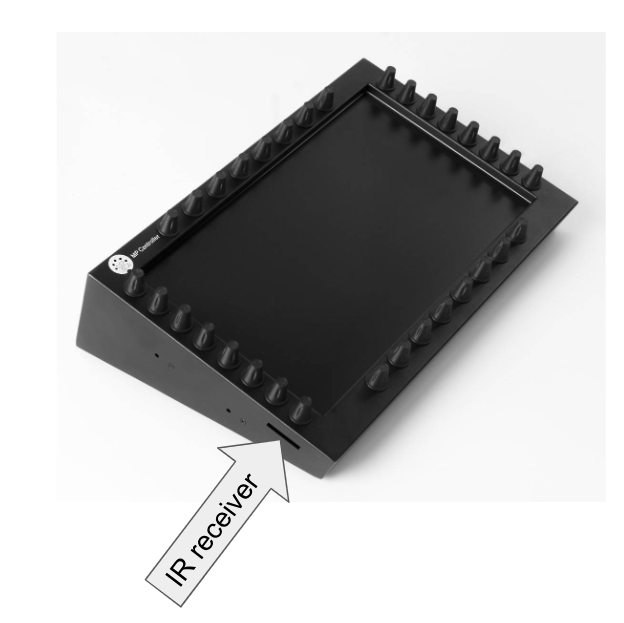
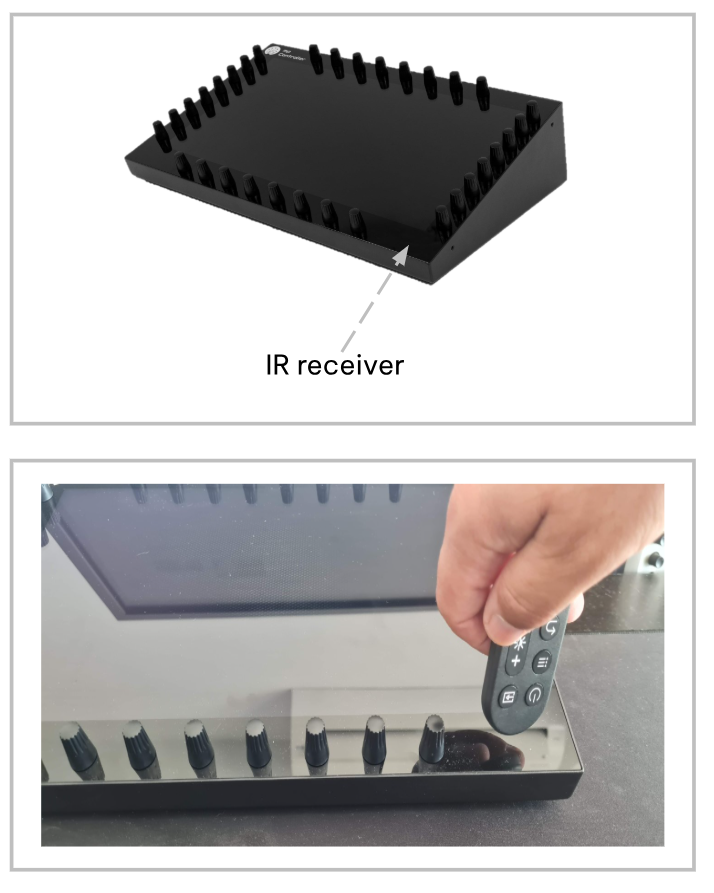
On Model 1A+ and Model 2A a remote control is being shipped with the controller which can be used to control the screen's settings.
The remote control should be pointed to the IR receiver on the MP Controller
Model 1A+
Model 2A
 To troubleshoot the remote control see here
Model 1A
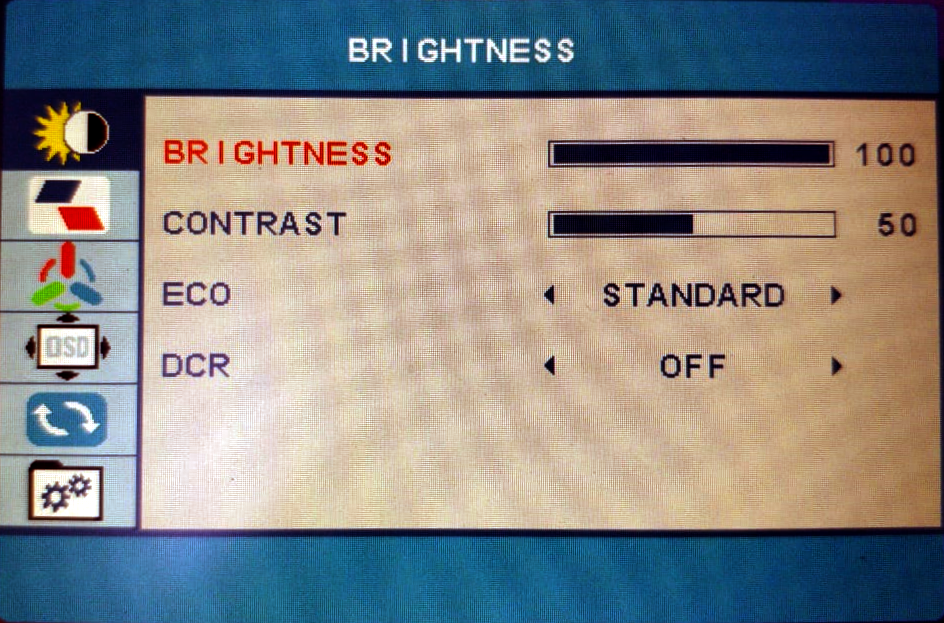
The display has been pre-set to a brightness level of 100%.
The power drawn when the brightness level is at 100% may be not be enough for some USB ports. You can reduce the brightness level so that the monitor can operate by a lower power or use a
Y-cable to provide more power.
If you increase the angle of placement of the controller to a more upright position, we have found that brightness is satisfactory when set to about 70%.
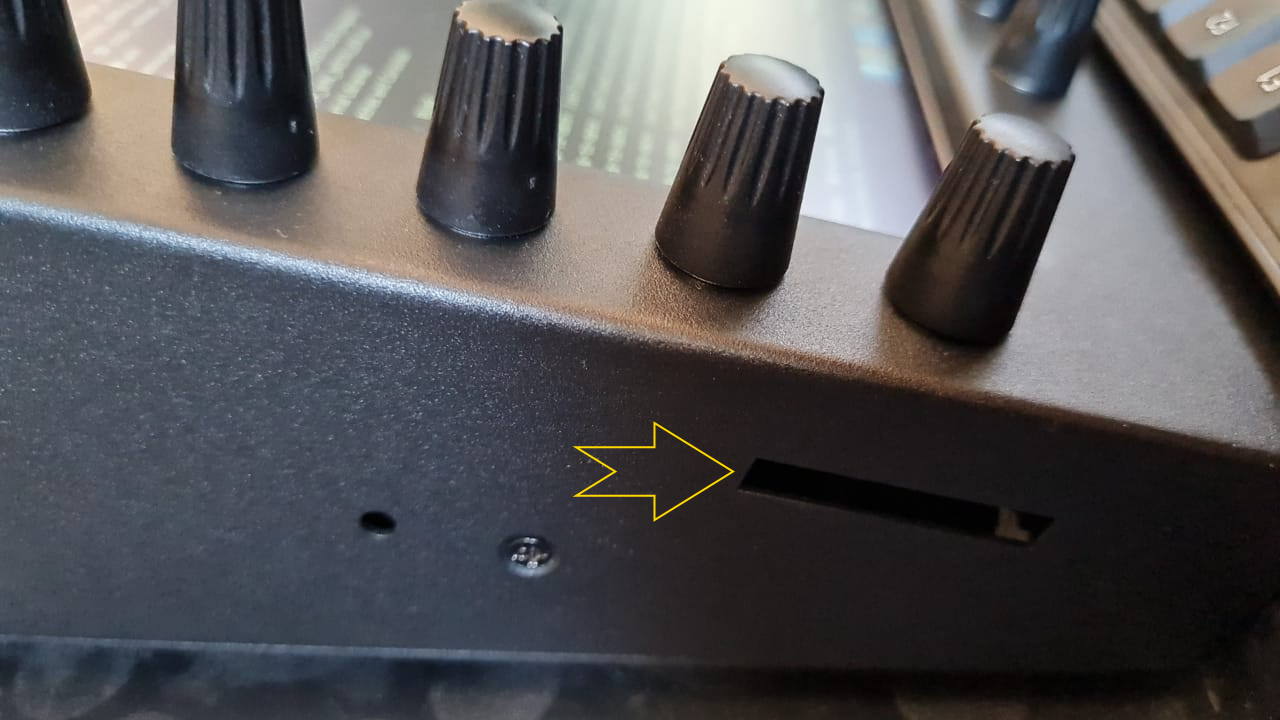
You can change the brightness level using a small screwdriver to reach the two buttons from the slit on the left side of the controller or unscrew the bottom cover of the controller and adjust with your finger, as described on the next page.
Display Controls
To change the display settings including the brightness you need to use the side buttons. (also easily accessible if you unscrew the bottom cover)
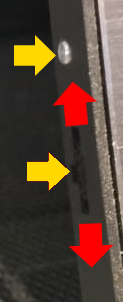
The yellow arrows point to push buttons
The silver upper button is a power switch
The lower control is both a push and up/down button and can be used to enter and control the display options
Display Options
When you push the lower button, you will see the display options on screen.
Push a second time to enter a section and push a third time to select the parameter.
Move the lower button up/down to change the value of the selected parameter
Alternatively, for Windows, Twinkle Tray lets you easily manage the brightness levels of multiple monitors: https://twinkletray.com/