
2. Fender Studio Pro - Presonus Studio One Control Surface Documentation
Before you read this guide. ensure you have completed the installation first from this article.
Device & Plugin Control
When you select a device in the DAW it will automatically be mapped on the encoders of the MP Controller
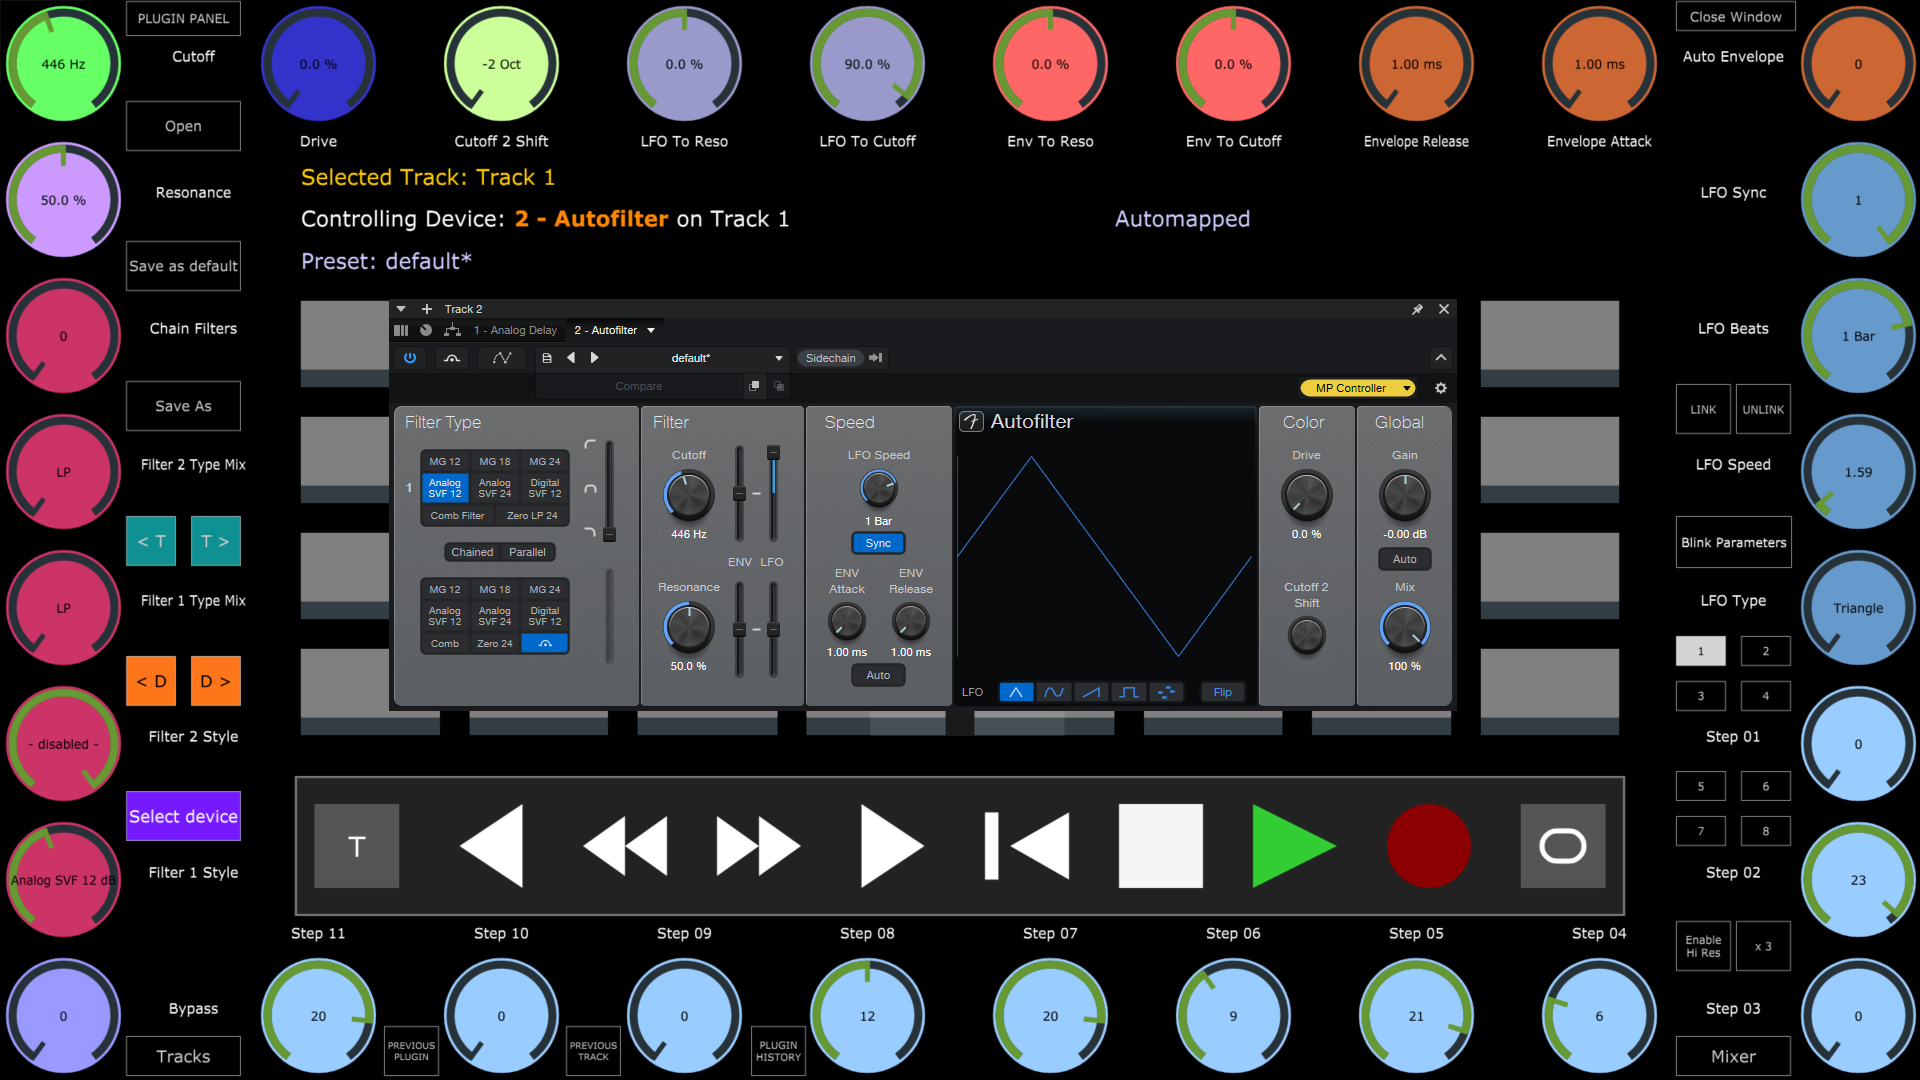
You can also select Tracks using the Tracks button
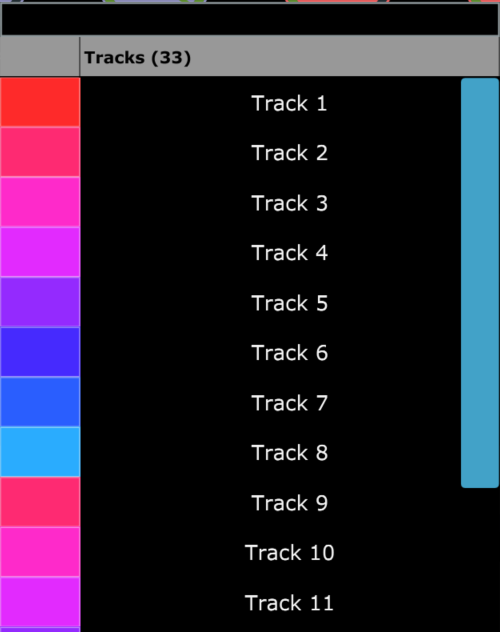
and Devices from using the Select Device button
How to link parameters
Press the LINK button, then turn or click on an encoder and it will highlight it yellow
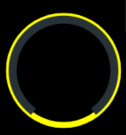
Move a parameter from the device or plugin you want to link and it will link the device parameter.
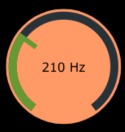
Press Save as default to save the mapping as a preset so the next time you select that device (any instance) it will load that preset.
Linking Buttons
Right click on a button and click Link
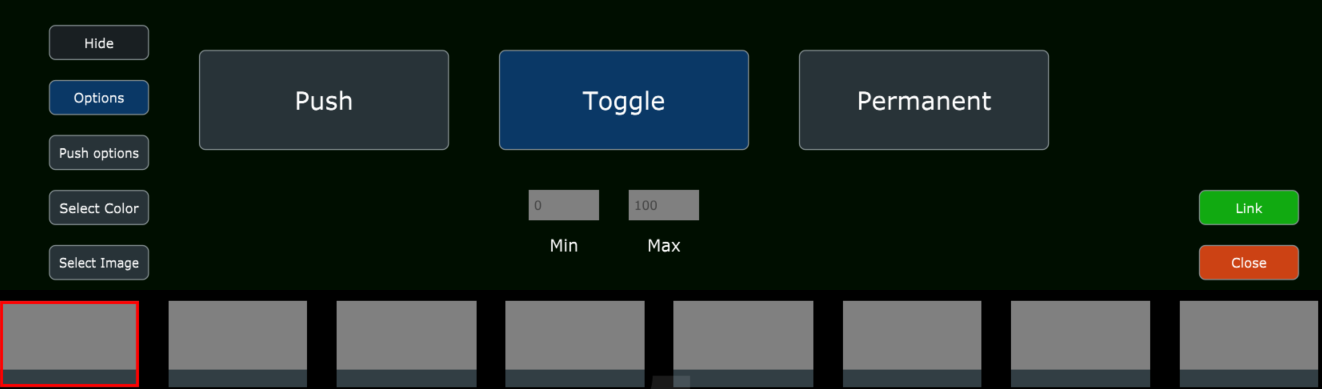
Move or click on the parameter you want to link and it will link it to the button
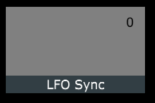
Saving the default preset for a device
If you made custom mappings and want these to be automatically loaded every time you select a device or plugin, use the "Save As Default" button. It will create a preset with your mappings and the controller will load it automatically when you select an instance of that device/plugin.
Controlling the Mixer
Click on the Mixer button and the Mixer view will open.
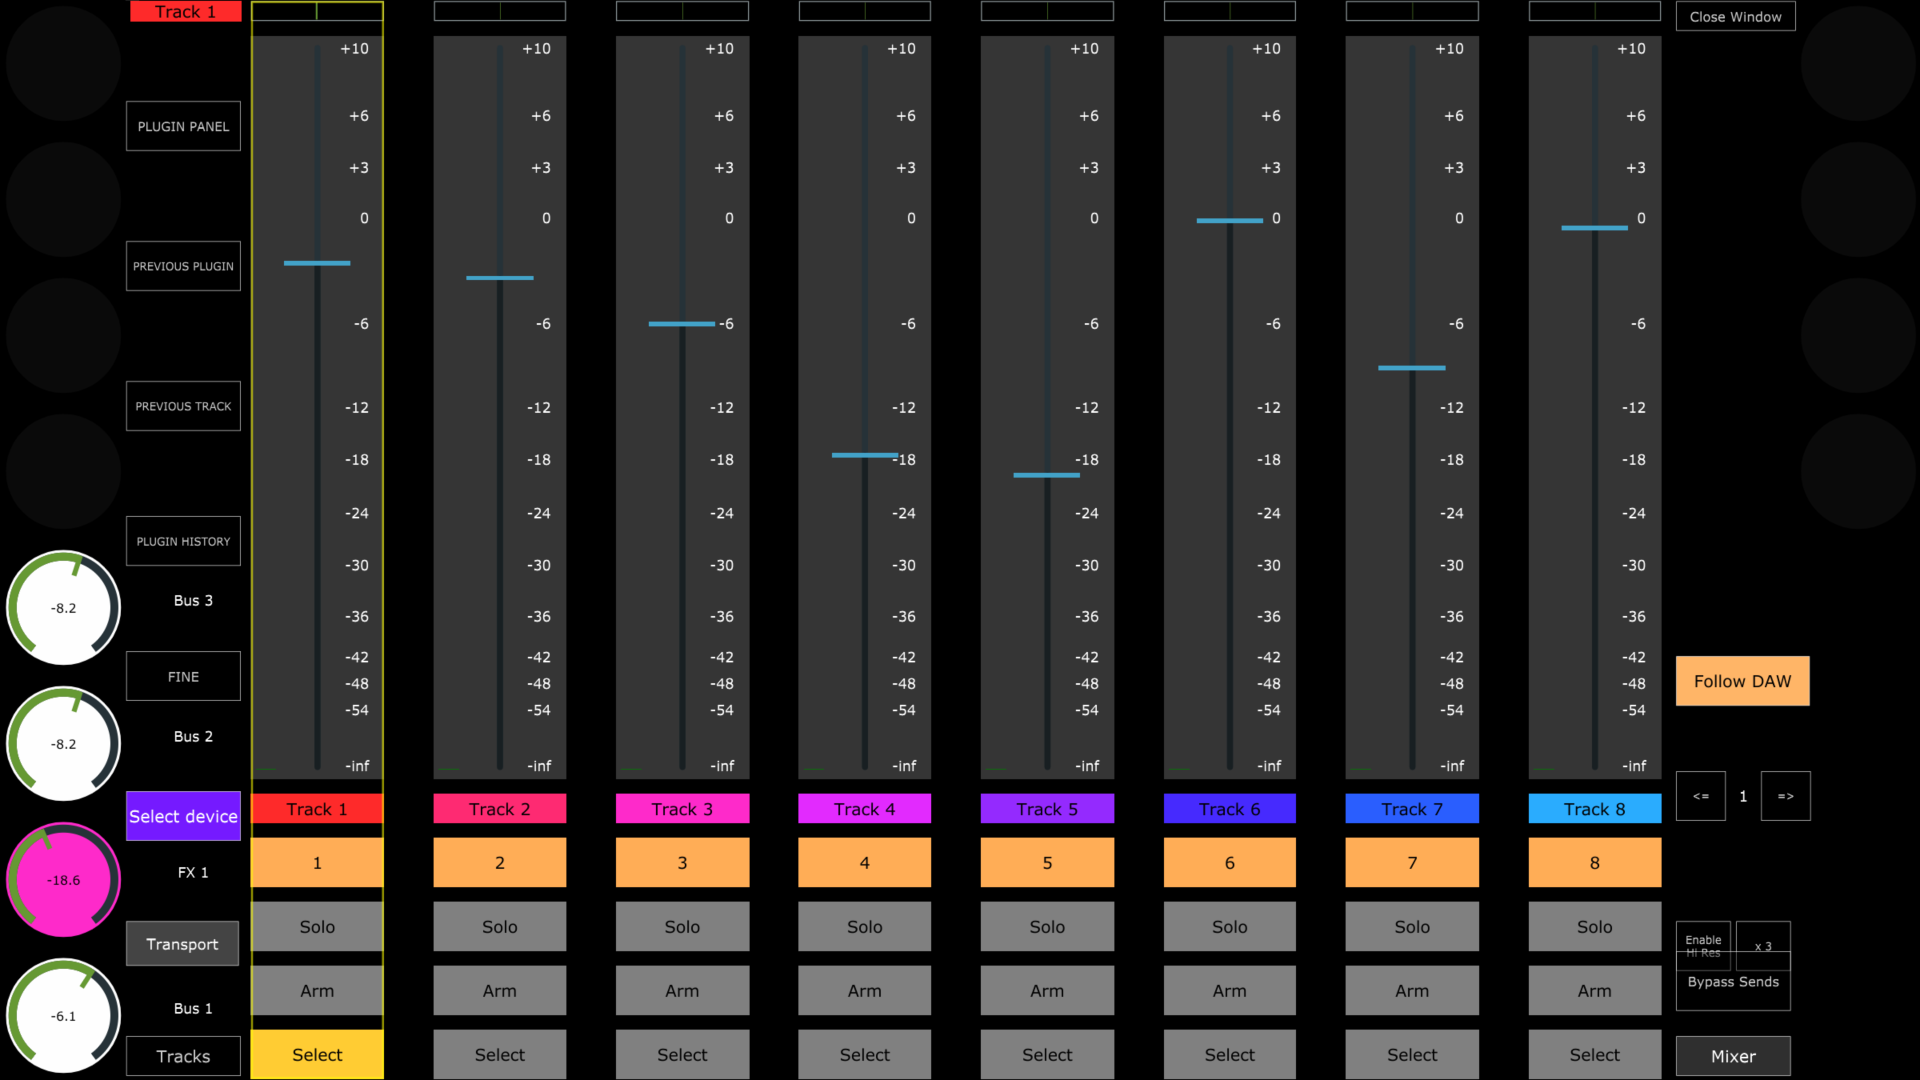
The top row encoders control the pan.
The 12 encoders on the left and right columns (8 on the left and 4 on the right columns) control the Send volume of the selected track.
The bottom row encoders control the volume of the track above it.
The Follow DAW button will change to the mixer page of the selected track in the DAW. If you disable it, it will not change to that page automatically.
Transport Control
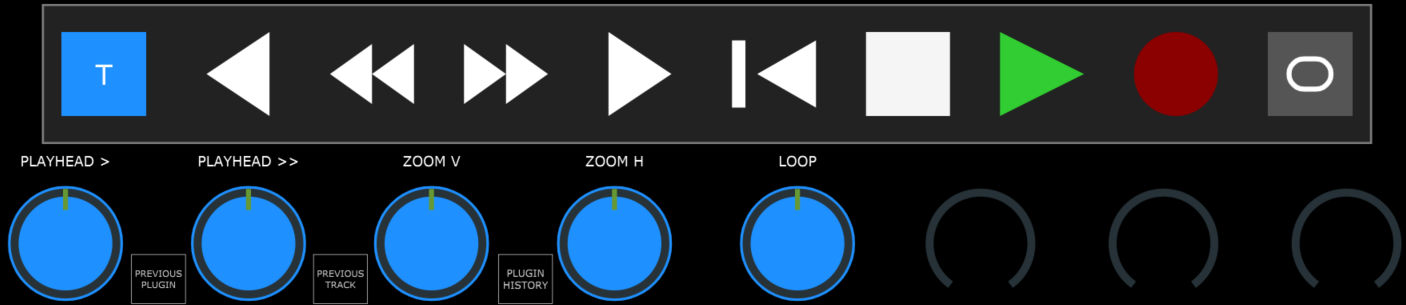
Pressing the T button will use the enocders 28 to 32 to control the Playhead (normal mode), Playhead (fast control), Vertical Zoom level, Horizontal Zoom level and move the Loop locators left/right along the timeline
Plugin Control
When you select a plugin the Control Surface syncs to its parameters and they can be controlled.
Note that if the plugin is loaded in Fender Studio for the first time, you need to move a parameter on the plugin, switch to another plugin and back to it for parameters to sync. This is because Fender Studio needs to receive the list of parameters at least once to cache them. This process is only needed once, the first time a new plugin is loaded in Fender Studio. Reusing the plugin in the future will not require this process.
Set As Buttons
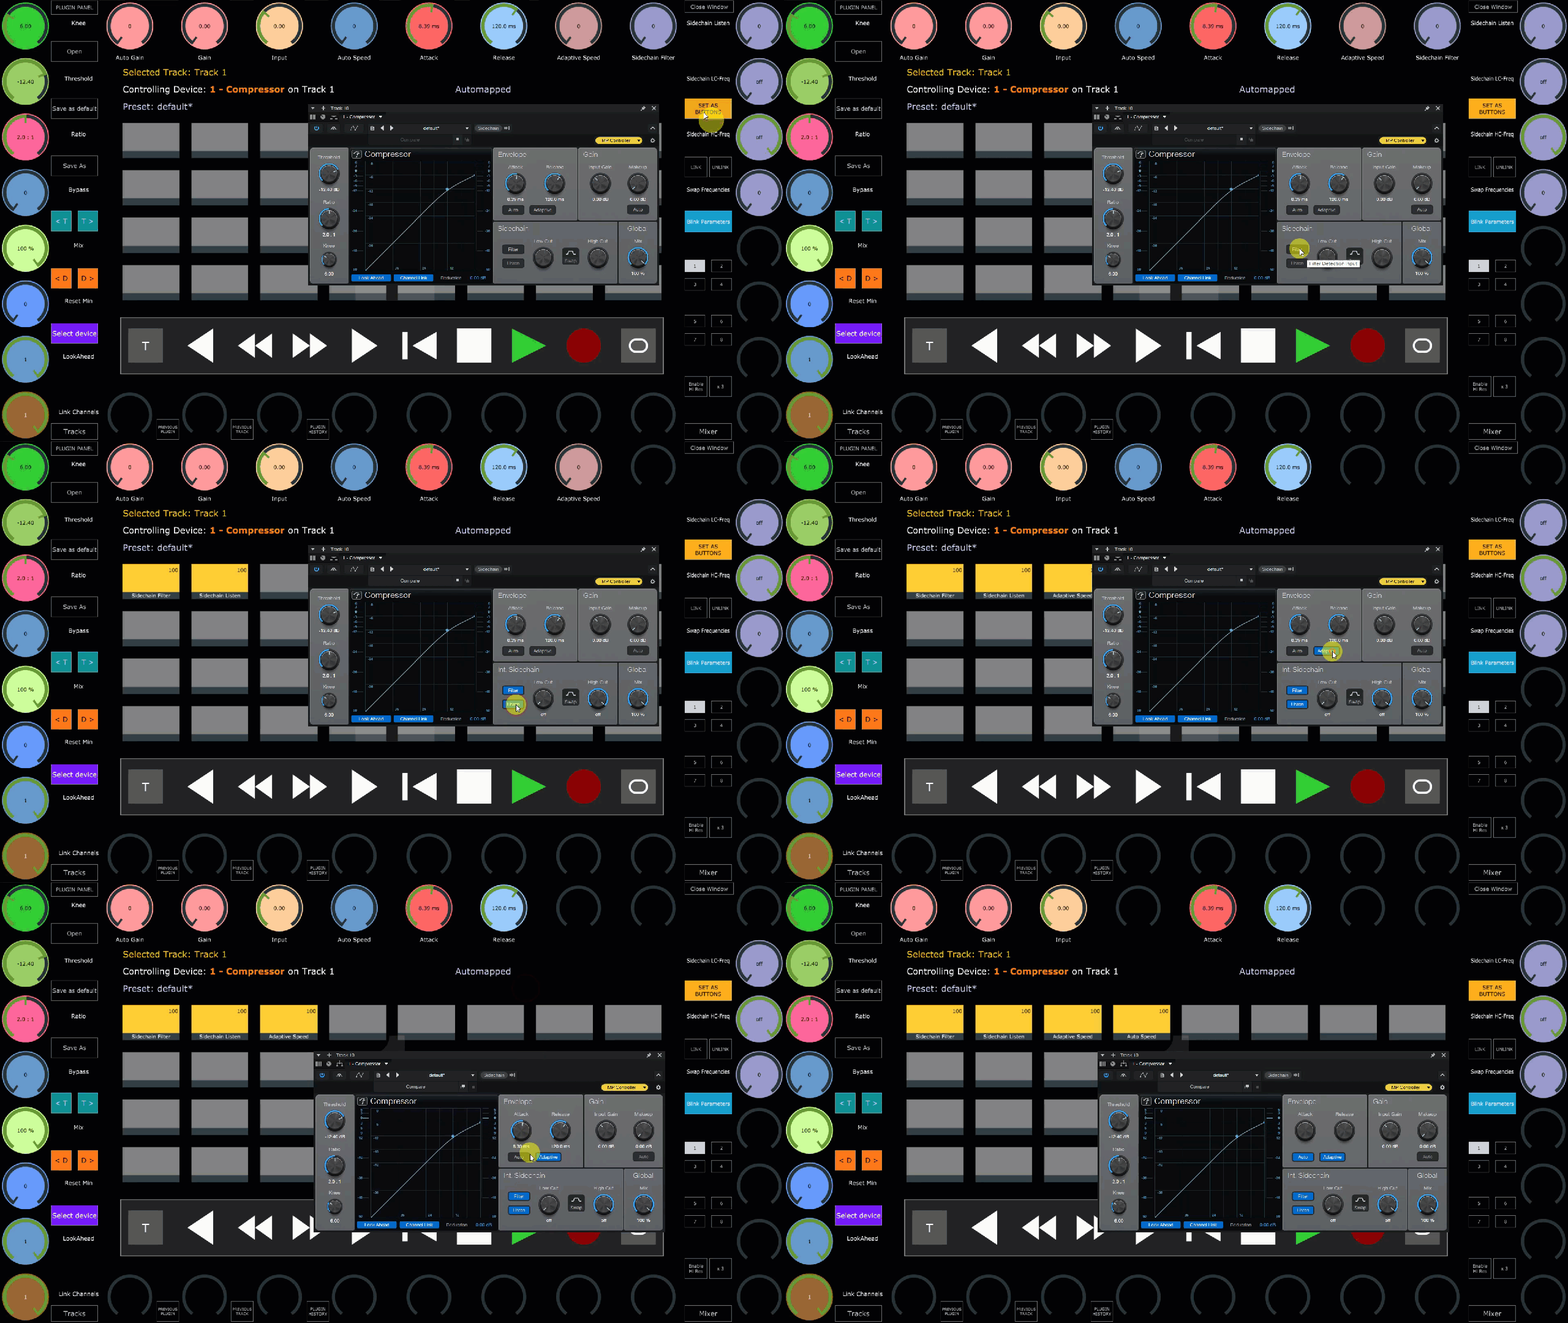
The DAW does not send out the type of each parameters (button or continous). Therefore, the controller will automatically map all parameters to encoders. Set as buttons, is an easy way to convert mapped encoders to buttons.
Once enabled, turn or click on an encoder you want to be converted to a button and it will automatically linked to the next available button on the page.
Alternatively, you can click directly on the parameter of the plugin/device in the DAW. Once the controller receives a parameter value change it will link it to a button.
Follow Parameter Change
The Follow Param button will switch page automatically when you tweak a parameter on the device/plugin. When disabled the control surface will stay in the current page.
Switching from and to the MP Host
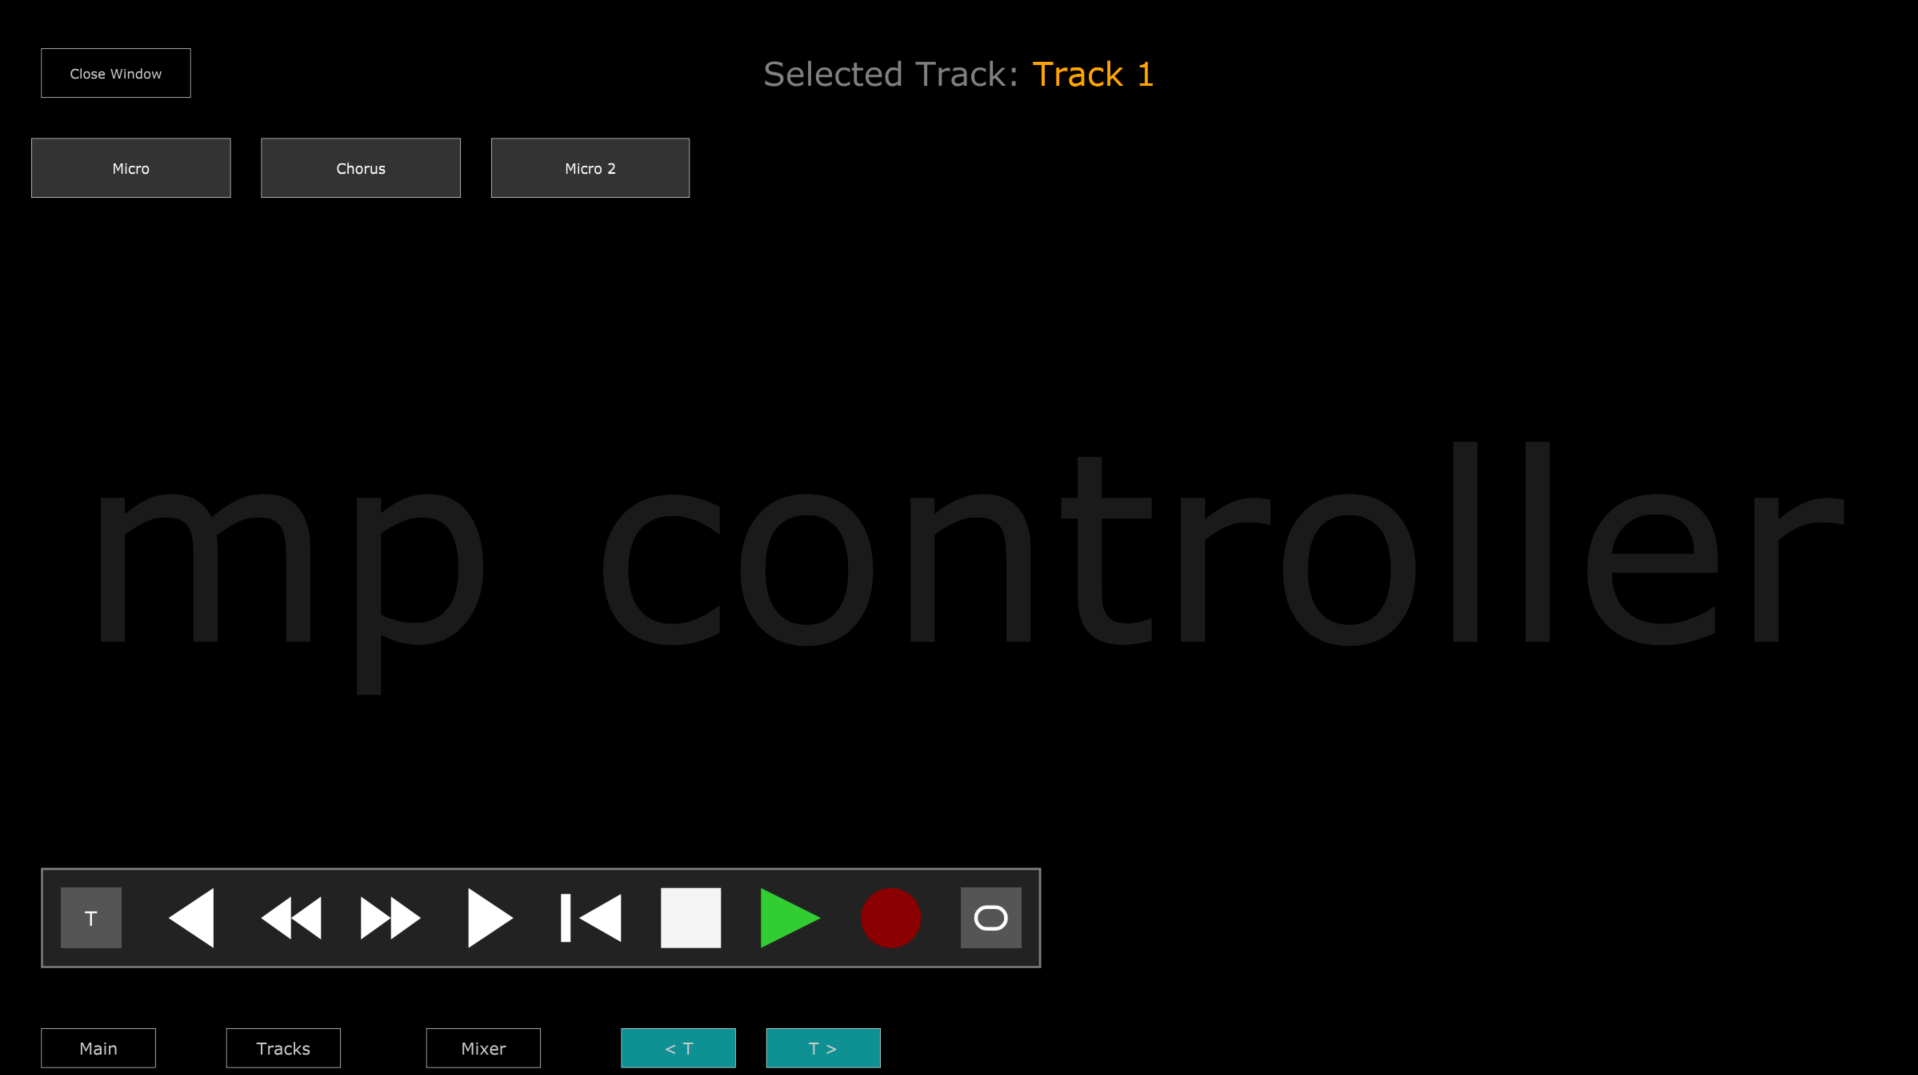
You can switch to the MP Host using the PREVIOUS PLUGIN, PREVIOUS TRACK, PLUGIN HISTORY buttons and the Plugin Panel. When the MP Host is active, there is a button "FENDER CS" that switches to the control surface.
If you are in the MP Host and click on a plugin in the Fender Studio, the MP Host will close, however there is no mechanism to open the control surface (Fender Studio cannot send a message to open the control surface), therefore you need use the FENDER CS button from the MP Host to switch to the control surface. See video here